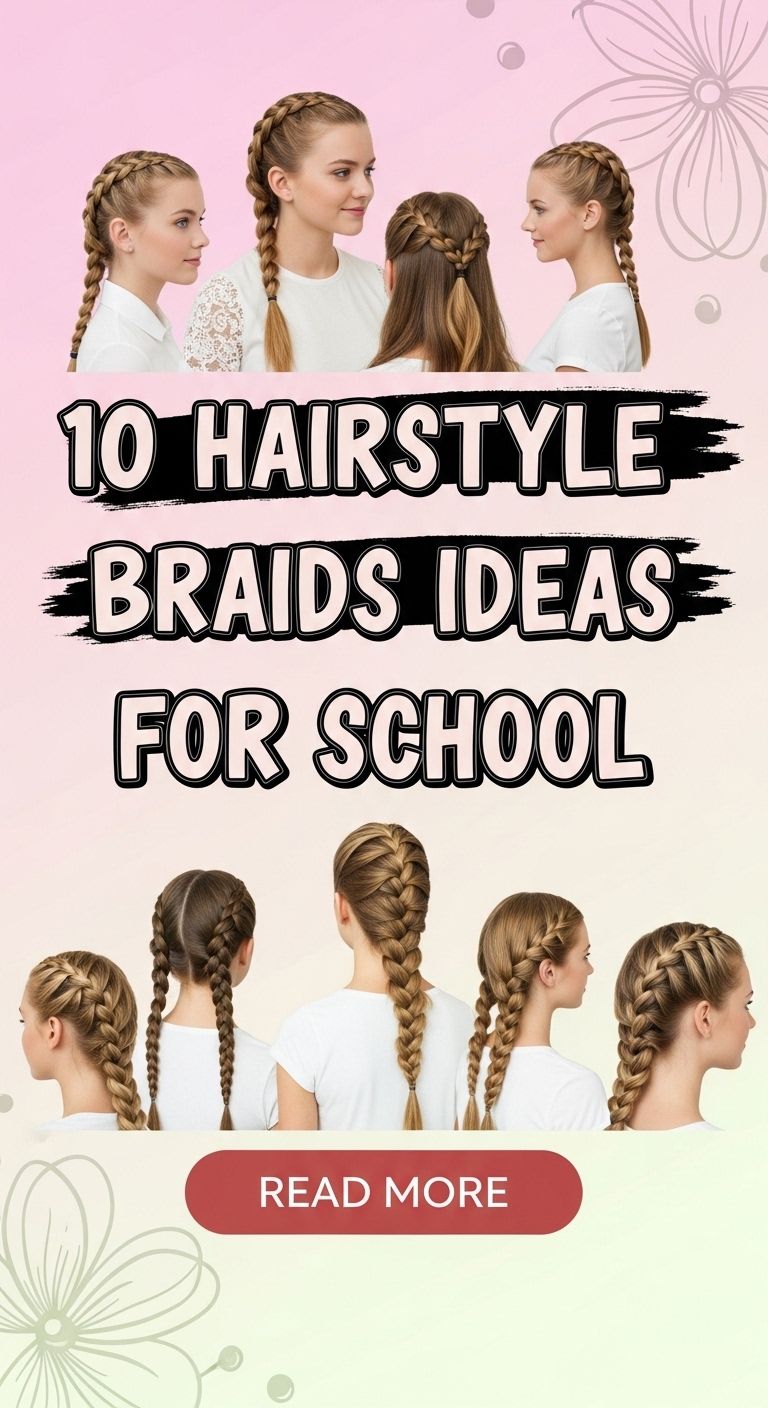
10 hairstyle braids ideas for school

Braided hairstyles are practical and structured solutions for daily school routines. They keep hair secure, reduce maintenance during the day, and support neat presentation. Many Pinterest ideas highlight braids because they combine function with visual appeal while remaining accessible for beginners. These styles work for different hair lengths, textures, and time constraints, making them suitable for students with busy schedules.
This article explains how to create ten braid hairstyles designed specifically for school environments. Each idea focuses on a clear concept and includes step-by-step guidance to ensure easy execution. The content covers preparation, material selection, and styling techniques to support consistent results. These creative ideas emphasize organization, durability, and simple design, allowing users to develop skills gradually.
Readers will learn how to structure braids efficiently, choose appropriate tools, and adapt each style for daily use. The goal is to provide practical, beginner-friendly tutorials that align with modern design preferences while remaining achievable within limited time. Each hairstyle is designed as an easy project that can be completed quickly without sacrificing neatness or visual balance.
Why This Idea Is Trending or Useful
Braided hairstyles are trending because they provide a structured solution for managing hair throughout long school hours. Many Pinterest ideas focus on braids due to their ability to maintain shape, reduce tangling, and minimize the need for constant adjustments. This makes them especially useful for students who need reliable styles that last from morning until afternoon.
These styles also align with modern design trends that emphasize simplicity and clean lines. Minimalist style braids are visually organized and adaptable, allowing variations without requiring complex techniques. This increases their accessibility for beginners who are learning basic braiding methods. The DIY appeal of braids also contributes to their popularity, as they can be created at home without professional tools.
Another reason for their relevance is their compatibility with different hair types and lengths. From tight braids to loose styles, they can be adjusted based on personal preference and hair condition. These hairstyles also support creative expression while maintaining a neat and appropriate appearance for school settings.
Their practicality, combined with aesthetic value, makes braided hairstyles a consistent choice among trending ideas for students seeking efficient and stylish solutions.
Materials and Preparation
Preparing for braided hairstyles requires simple tools and organized planning. The most common materials include a comb for sectioning, hair ties for securing braids, and optional clips to hold sections in place. A spray bottle with water can help manage dry or frizzy hair, ensuring smoother braiding. These materials support control and precision during the process.
Start by detangling the hair completely using a wide-tooth comb or brush. This step is essential to prevent uneven sections and breakage during braiding. Clean and slightly damp hair often provides better grip, making it easier to form tight and consistent braids. Planning the hairstyle beforehand helps reduce mistakes and improves efficiency.
Divide the hair into clear sections depending on the chosen braid style. Sectioning creates structure and ensures balance on both sides of the head. Use clips to separate areas and maintain organization throughout the process. For beginners, practicing simple three-strand braids first helps build confidence before attempting more detailed styles.
Proper preparation improves the final result by ensuring smooth strands, even tension, and clean lines. It also reduces time spent fixing mistakes, making the overall process more efficient and suitable for school mornings.
Idea 1: Classic Three-Strand Side Braid
How to Create
The classic three-strand side braid is a foundational hairstyle that focuses on simplicity and balance. It gathers hair to one side, creating a controlled and neat look suitable for school environments. This style works well for medium to long hair and supports easy execution for beginners. The design keeps hair secured while maintaining a soft and natural appearance.

This braid emphasizes even tension and smooth alignment of strands. Keeping the braid slightly loose provides comfort while still maintaining structure. The side positioning adds variation without increasing complexity. It is often used as a base style for learning more advanced braiding techniques.
Step-by-Step Guide
Start by brushing the hair thoroughly and gathering it over one shoulder. Divide the hair into three equal sections. Begin crossing the outer sections over the middle section alternately, maintaining consistent tension throughout. Continue braiding until reaching the ends of the hair.
Secure the braid with a hair tie and gently adjust sections if needed to improve symmetry. A light pull on the braid edges can create a fuller appearance while keeping the structure intact. This easy project can be completed quickly and requires minimal materials, making it ideal for daily school use.
Idea 2: Double Dutch Braids

How to Create
Double Dutch braids involve creating two parallel braids that sit raised on the scalp. This style is structured and secure, making it suitable for active school days. It uses an underhand braiding technique, where strands are crossed beneath rather than over, creating a defined and textured appearance.
This hairstyle supports organization by keeping hair tightly in place. It works well for both thick and fine hair, as the technique allows adjustment of tension. The symmetrical layout contributes to a clean and balanced design.
Step-by-Step Guide
Part the hair down the center to create two equal sections. Start on one side and divide a small front section into three strands. Begin braiding by crossing the strands underneath while gradually adding hair from the sides. Continue until reaching the nape of the neck.
Repeat the same process on the other side. Secure both braids with hair ties. Adjust tension evenly to ensure both sides match. This step by step process creates a durable hairstyle that stays intact throughout the school day.
Idea 3: Low Braided Ponytail
How to Create

The low braided ponytail combines a simple ponytail with a braid for added structure. It is a practical hairstyle that keeps hair organized while maintaining a neat appearance. This style is ideal for quick preparation and suits various hair lengths.
The braid adds texture and prevents the ponytail from becoming loose or tangled. It also enhances the overall aesthetic without requiring complex techniques. This makes it a reliable option for beginners.
Step-by-Step Guide
Gather the hair at the nape of the neck and secure it into a low ponytail using a hair tie. Divide the ponytail into three sections and begin a standard braid. Maintain even tension while braiding to ensure consistency.
Secure the end with another hair tie. Adjust the braid slightly for volume if desired. This hairstyle is an easy project that can be completed in minutes while maintaining a clean and organized look.
Idea 4: Half-Up Braided Crown

How to Create
The half-up braided crown creates a decorative effect while keeping part of the hair loose. It combines structure with flexibility, making it suitable for both casual and formal school settings. This style frames the face while maintaining control over the upper section of hair.
It uses two braids that meet at the back, forming a crown-like shape. The remaining hair stays loose, providing balance between structured and relaxed elements.
Step-by-Step Guide
Take a section of hair from each side of the head and braid them separately. Use a basic three-strand braid for each section. Pull both braids toward the back and secure them together with a hair tie or clip.
Adjust the braids to create a smooth curve around the head. This beginner friendly tutorial allows creative variation while maintaining a simple execution process.
Idea 5: Fishtail Side Braid
How to Create
The fishtail braid creates a detailed pattern using two sections instead of three. It produces a refined and textured appearance while remaining lightweight. This style is suitable for school due to its secure structure and long-lasting hold.
It requires slightly more attention than basic braids but remains achievable with practice. The design emphasizes precision and consistent sectioning.

Step-by-Step Guide
Divide the hair into two sections. Take a small piece from the outer edge of one section and cross it over to the other side. Repeat this process on the opposite side, alternating continuously.
Continue until reaching the ends and secure with a hair tie. Gently pull sections to enhance texture if needed. This creative project provides a detailed yet practical hairstyle.
Idea 6: Braided High Ponytail
How to Create
The braided high ponytail combines elevation with structure, creating a neat and secure hairstyle. It keeps hair away from the face and neck, making it ideal for active school days. The braid adds durability to the ponytail.

This style focuses on strong placement and clean lines, ensuring the hair remains controlled throughout the day.
Step-by-Step Guide
Tie the hair into a high ponytail at the crown of the head. Divide the ponytail into three sections and create a standard braid. Maintain consistent tension for a uniform appearance.
Secure the end with a hair tie. Smooth any loose strands for a polished finish. This method is quick and suitable for daily use.
Idea 7: Single French Braid
How to Create
The French braid integrates hair gradually into the braid, creating a flat and smooth design along the scalp. It is a classic style known for its neat structure and long-lasting hold.
This hairstyle supports organization by distributing hair evenly within the braid. It is suitable for school settings due to its tidy appearance.

Step-by-Step Guide
Start at the crown and divide a small section into three strands. Begin braiding while adding hair from both sides as you move downward. Continue until all hair is included.
Secure the braid at the end. Ensure even tension throughout the process for consistency. This tutorial helps build foundational braiding skills.
Idea 8: Twin Side Braids
How to Create

Twin side braids create two simple braids on each side of the head. This style is balanced and easy to maintain, making it suitable for beginners.
It provides structure while allowing quick execution. The design is symmetrical and supports consistent results.
Step-by-Step Guide
Divide the hair into two equal sections. Braid each section separately using a basic three-strand method. Maintain even tension on both sides.
Secure both braids with hair ties. Adjust for symmetry if needed. This easy project is ideal for daily school routines.
Idea 9: Rope Twist Braid

How to Create
The rope twist braid uses two sections twisted together to form a spiral pattern. It is a simple alternative to traditional braids and requires minimal effort.
This style is suitable for quick preparation while maintaining a neat appearance.
Step-by-Step Guide
Divide the hair into two sections and twist each section individually in the same direction. Then twist both sections together in the opposite direction.
Secure the end with a hair tie. This method ensures the braid holds its shape throughout the day.
Idea 10: Braided Bun

How to Create
The braided bun combines a braid with a bun for a compact and secure hairstyle. It keeps hair fully contained and is suitable for formal school requirements.
This style focuses on structure and durability, ensuring long-lasting hold.
Step-by-Step Guide
Create a ponytail and braid it completely. Wrap the braid around the base to form a bun. Secure with pins or a hair tie.
Adjust the bun for symmetry and tightness. This hairstyle provides a clean and organized finish.
Common Beginner Mistakes and How to Avoid Them
One common mistake is uneven sectioning, which leads to inconsistent braids. Always divide hair carefully before starting. Another issue is applying uneven tension, resulting in loose or overly tight braids. Maintaining steady pressure helps create a balanced look.
Skipping detangling can cause knots and disrupt the braiding process. Always prepare the hair properly. Beginners may also rush the process, leading to errors. Taking time to follow each step ensures better results.
Practical Tips for Better Results
Use a mirror to check symmetry during braiding. Slightly damp hair improves control and reduces flyaways. Practice basic techniques regularly to build consistency.
Working with smaller sections increases precision. Keeping tools organized before starting improves efficiency and reduces interruptions.
Styling, Presentation, or Organization Ideas
Braids can be styled with clean parting lines to enhance visual structure. Keeping edges smooth creates a polished appearance. Organized sectioning improves overall balance.
Combining different braid types can add variation while maintaining a cohesive look. Consistency in spacing and alignment supports a neat finish.
Budget or Time Planning
Most braided hairstyles require minimal materials, making them budget friendly. Planning the style the night before reduces morning preparation time.
Simple styles can be completed in under ten minutes. Practicing regularly improves speed and efficiency.
Creative Expansion and Advanced Inspiration
Once basic techniques are mastered, combining multiple braid styles can create more complex designs. Adding variations such as layered braids or mixed textures expands creative possibilities.
Experimenting with placement and structure allows customization while maintaining practicality for school use.