
10 hairstyle braids ideas
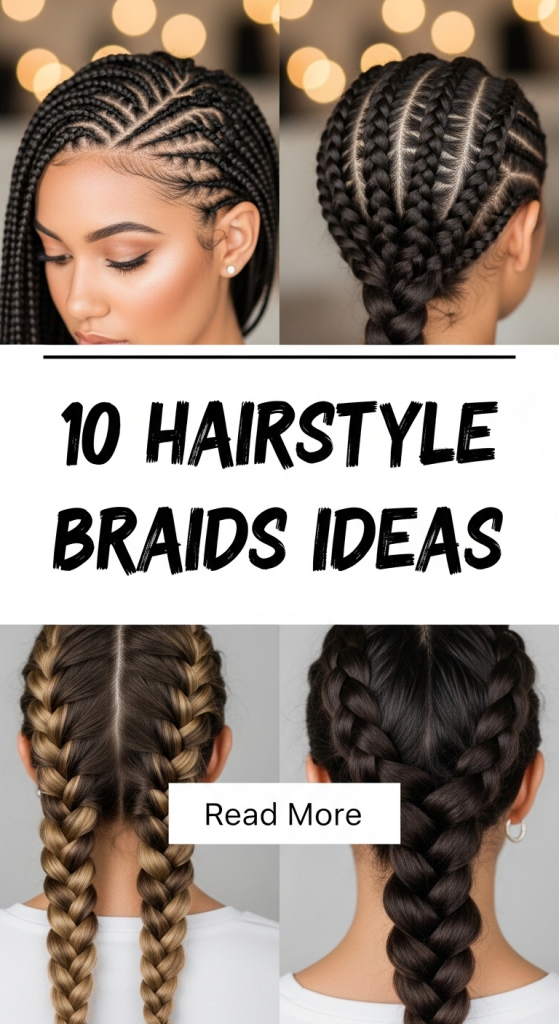
Braided hairstyles have remained a consistent feature in Pinterest ideas due to their versatility, structure, and visual appeal. These styles are widely used in both casual and formal settings because they combine practicality with aesthetic value. Braids involve interweaving sections of hair in organized patterns, creating designs that range from simple to intricate.
This article presents a structured guide to ten braid hairstyle ideas that are suitable for different hair types, lengths, and occasions. Readers will learn how to approach each style using clear step by step methods, along with preparation techniques that ensure better results. Braided hairstyles are useful because they help manage hair efficiently while adding a defined and polished look. They also support long-lasting styling, making them ideal for daily routines or special events.
These creative ideas are designed to be beginner friendly while maintaining a modern design approach, allowing individuals to explore practical and achievable options for enhancing their overall appearance through well-organized and visually balanced hairstyles.
Why This Idea Is Trending or Useful
Braided hairstyles continue to gain popularity in Pinterest inspiration because they offer a balance between functionality and style. These designs are practical for maintaining hair organization, especially in daily routines where long-lasting styles are preferred. The growing interest in DIY beauty techniques has made braiding an accessible option for individuals seeking easy project ideas that can be done at home. Braids also align with modern aesthetic trends that emphasize clean patterns and structured designs. Their adaptability allows them to suit different hair textures and lengths, making them inclusive and versatile. Additionally, braided hairstyles reduce the need for frequent restyling, which supports efficient time management. Many trending ideas highlight braids as a way to achieve polished looks without requiring complex tools or professional assistance. This accessibility makes them ideal for beginners while still offering enough variation for more advanced styling. As a result, braided hairstyles remain a reliable choice for those looking to combine creativity with practical hair management.
Materials and Preparation
Preparing for braided hairstyles requires basic tools and proper hair care to ensure smooth execution. Common materials include a comb for sectioning, hair ties, clips for holding sections, and optional styling products such as light hold gel or spray to maintain neatness. Clean and detangled hair is essential for achieving defined braids, as knots can disrupt the pattern and make the process difficult. Begin by washing and drying the hair, then use a comb to remove tangles and create even sections. Planning the braid style in advance helps determine how many sections are needed and where the braid will be positioned. For example, some styles require center parting, while others depend on side sections or multiple divisions. Keeping tools organized during the process improves efficiency and prevents interruptions. This preparation stage ensures that the braiding process remains structured and manageable. Following a clear step by step approach allows for better control and more consistent results, making the overall creative project easier to complete.
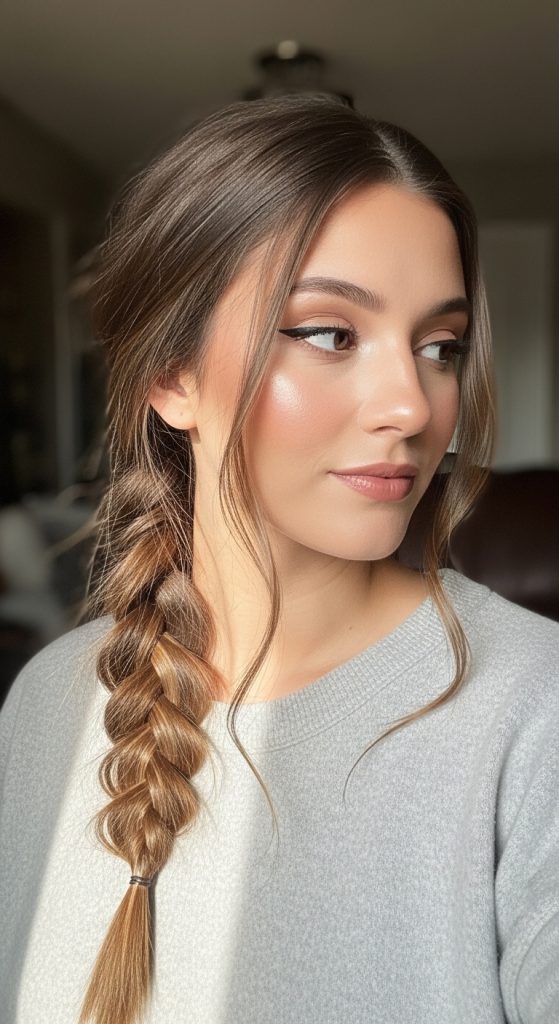
Idea 1: Classic Three-Strand Braid
How to Create
The classic three-strand braid is one of the most fundamental braided hairstyles, serving as the foundation for many advanced designs. This style involves dividing the hair into three equal sections and interweaving them in a consistent pattern. It is widely used because of its simplicity and adaptability, making it suitable for both casual and formal settings. This braid creates a clean and organized appearance, aligning with minimalist style preferences. It is also effective for maintaining hair control throughout the day, reducing tangling and movement. The structure of the braid allows it to stay intact for extended periods, making it a reliable choice for daily wear.
To create this braid, begin by dividing the hair into three equal sections at the desired starting point. Cross the right section over the middle section, then cross the left section over the new middle section. Continue this alternating pattern while maintaining even tension. Secure the end with a hair tie to keep the braid in place. This step by step method ensures a balanced and neat result. Practicing consistent hand movement improves the overall appearance, making this an easy project for beginners.
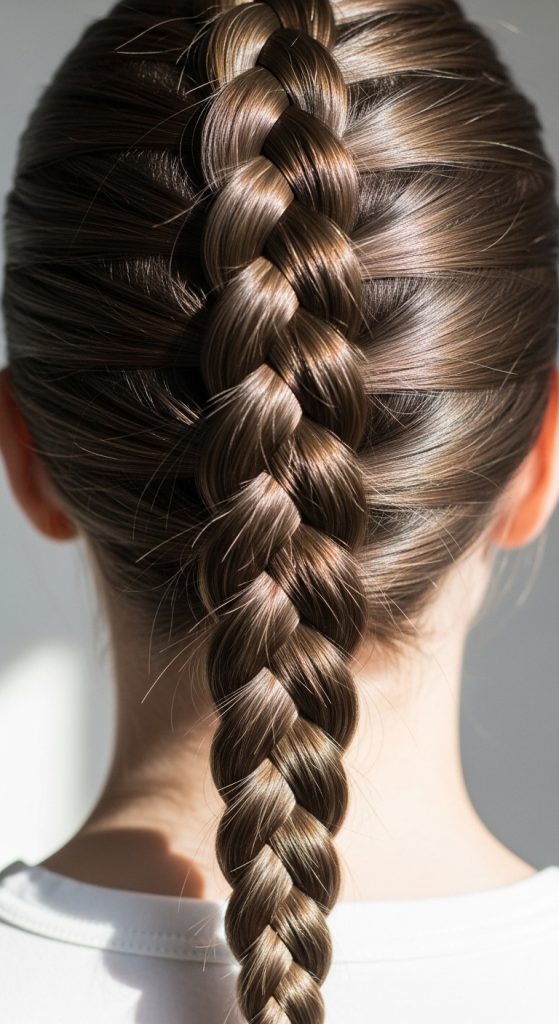
Idea 2: French Braid Style
How to Create
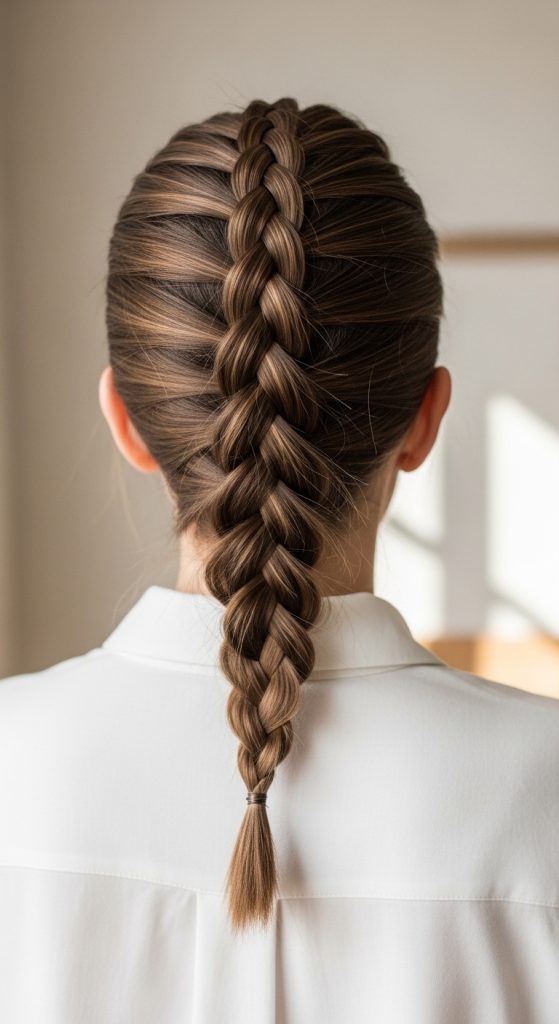
The French braid builds upon the basic braid by gradually incorporating additional hair sections as the braid progresses. This technique creates a smooth and integrated look that stays close to the scalp. It is commonly featured in creative ideas because of its structured and polished appearance.
Start at the crown of the head and divide a small section into three parts. Begin braiding while adding small sections of hair from each side as you move downward. Continue until all hair is included, then finish with a regular braid. This step by step process creates a seamless and secure style.
Idea 3: Dutch Braid Design
How to Create
The Dutch braid is similar to the French braid but uses an inverted technique that creates a raised effect. This style adds depth and dimension to the hair.
Divide the hair into sections and cross strands under instead of over. Continue adding hair as you braid downward. This method creates a bold and structured appearance.
Idea 4: Fishtail Braid Pattern
How to Create
The fishtail braid uses smaller sections to create a detailed and intricate pattern. This style is known for its fine texture and elegant appearance.
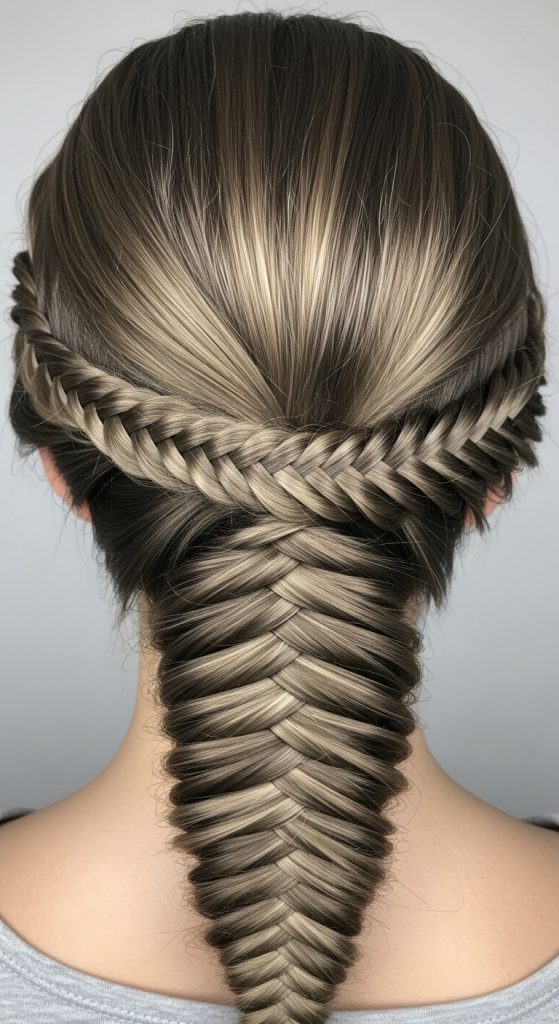
Split the hair into two sections and alternate small strands from each side. Continue the process until the braid is complete. Secure the end for stability.
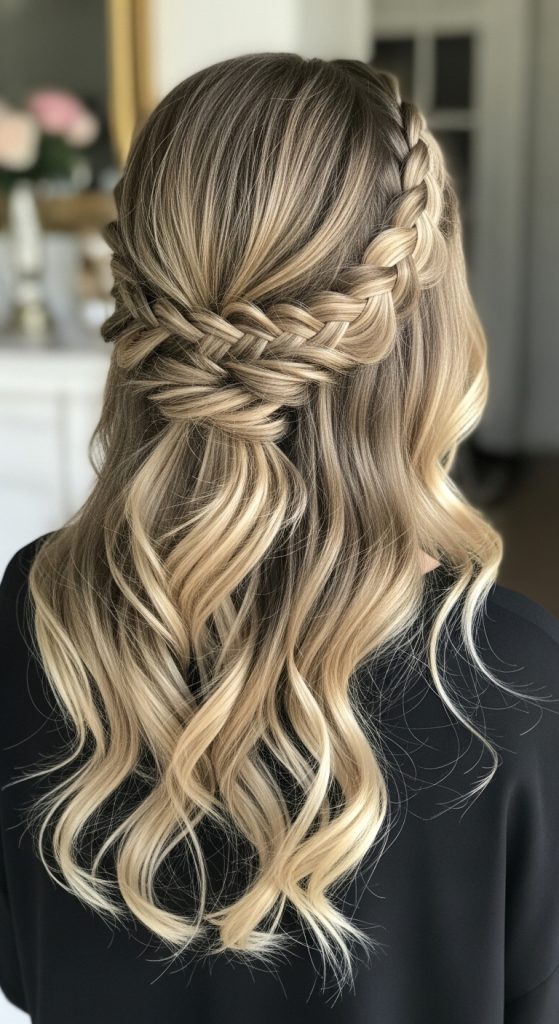
Idea 5: Crown Braid Style
How to Create
The crown braid wraps around the head, creating a circular design that frames the face. This style is often used for formal looks.
Create a braid starting from one side and guide it around the head. Secure it with pins for a stable finish.
Idea 6: Side Braid Look
How to Create
The side braid shifts the braid position to one side, creating an asymmetrical design. This style is simple yet visually appealing.
Gather hair to one side and braid using the standard method. Secure the end to complete the look.
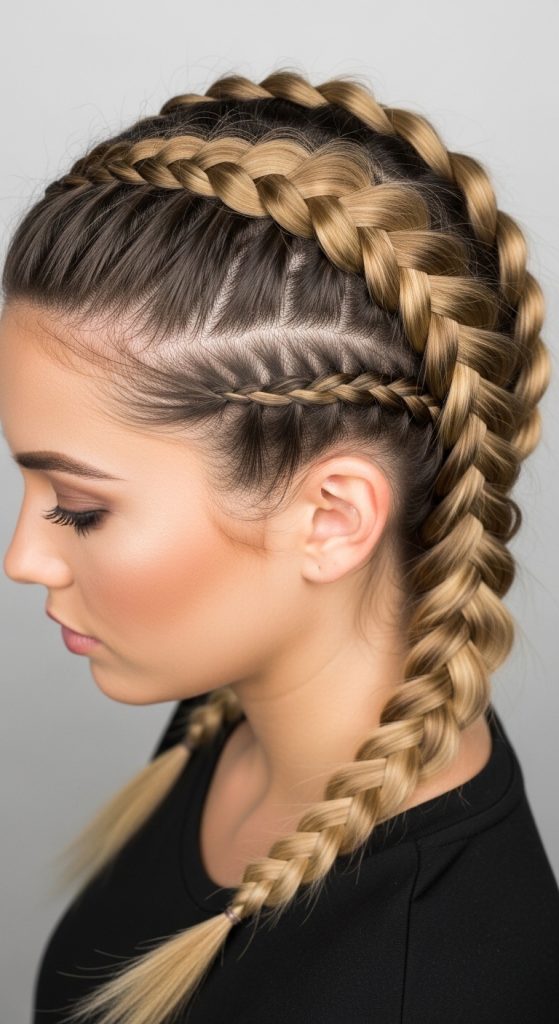
Idea 7: Boxer Braids Style

How to Create
Boxer braids consist of two symmetrical Dutch braids. This style is practical and keeps hair secure.
Divide the hair into two sections and create Dutch braids on each side. Secure both ends evenly.
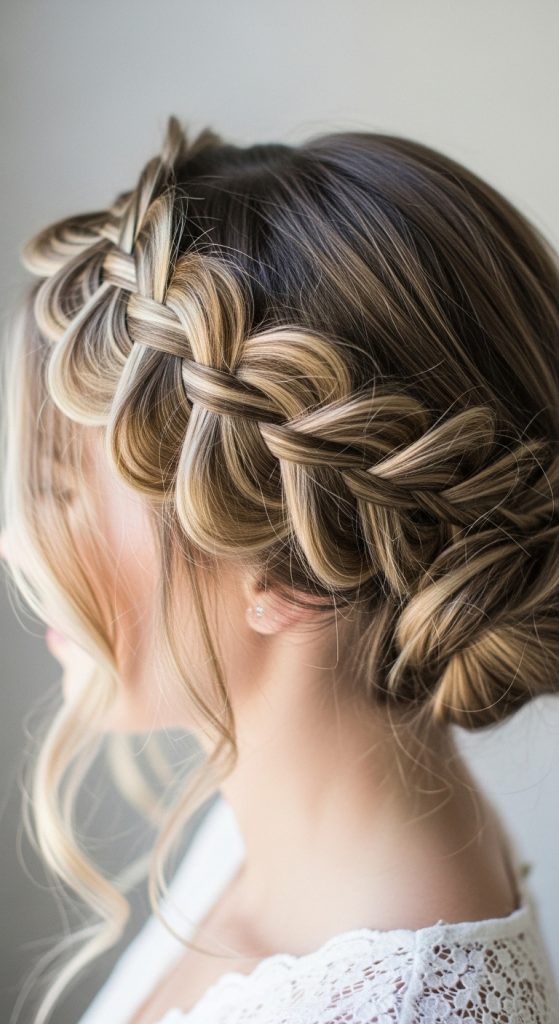
Idea 8: Waterfall Braid Design
How to Create
The waterfall braid creates a flowing effect by allowing sections of hair to fall through the braid. This style adds softness and movement.
Braid along the side while dropping one section in each step. Continue the pattern for a consistent flow.
Idea 9: Rope Braid Style
How to Create

The rope braid twists two sections of hair together, creating a spiral effect. This design is simple and quick to achieve.
Divide hair into two sections, twist each section, then twist them together. Secure the end to maintain the shape.
Idea 10: Multi-Braid Combination Style
How to Create
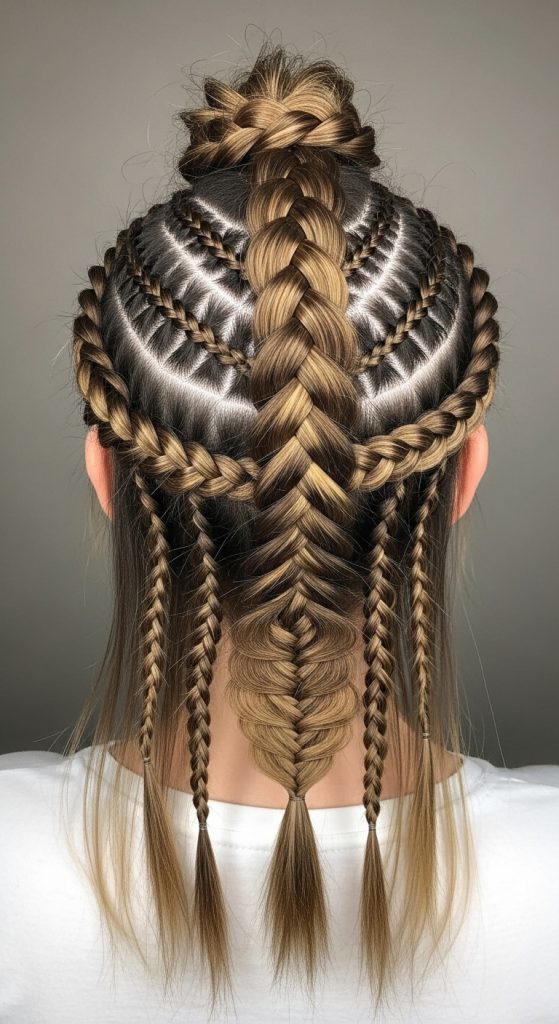
This style combines multiple braid techniques to create a unique and detailed design. It allows for creative variation and personalization.
Create different braids in sections and combine them into one cohesive style. Secure all parts to maintain structure.
Common Beginner Mistakes and How to Avoid Them
One common mistake in braiding is uneven sectioning, which results in inconsistent patterns and an unbalanced appearance. Using a comb to create equal sections improves accuracy and overall structure. Another issue is applying uneven tension, which can cause the braid to look loose in some areas and tight in others. Maintaining consistent pressure throughout the process ensures a uniform result. Skipping proper hair preparation, such as detangling, often leads to difficulty during braiding and disrupts the final look. Additionally, rushing through the process can result in misaligned strands and poor finishing. Taking time to follow each step carefully improves both quality and durability. Avoiding these mistakes helps create cleaner and more professional-looking braided hairstyles.
Practical Tips for Better Results
Achieving better braiding results requires consistency and attention to detail. Always work with clean and detangled hair to ensure smooth handling. Use a mirror to monitor alignment and maintain symmetry. Practicing hand coordination improves speed and accuracy over time. Securing sections properly prevents the braid from loosening. These tips support a more efficient and controlled styling process.
Styling, Presentation, or Organization Ideas
Braided hairstyles can be enhanced by coordinating them with overall appearance and outfit choices. Positioning the braid correctly helps frame the face and improve balance. Combining braids with simple accessories can add variation without disrupting the design. Organized styling ensures a clean and polished finish.
Budget or Time Planning
Braided hairstyles require minimal materials, making them cost-effective and suitable for budget ideas. Planning the style in advance reduces time spent during execution. Simple braids take less time, while complex styles may require additional effort. Efficient planning ensures better results.
Creative Expansion and Advanced Inspiration
Advanced braid styles can combine multiple techniques to create unique patterns. Experimenting with different braid placements and sizes enhances creativity. Practicing new methods improves skill level and allows for more complex designs. Continuous exploration leads to more refined and personalized hairstyle options.