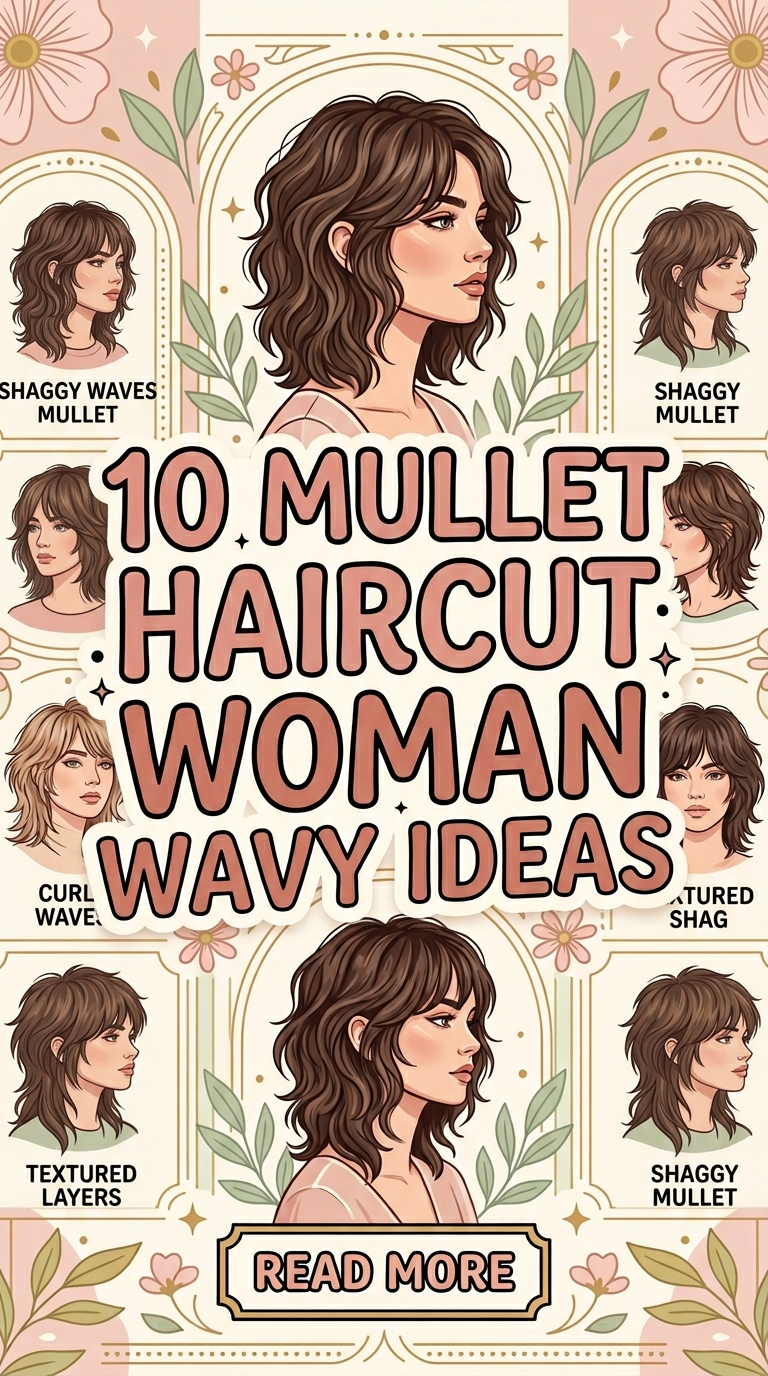

10 shaggy haircuts medium ideas

Medium shaggy haircuts are a strong presence in Pinterest ideas because they combine texture, movement, and effortless styling. A shag haircut is defined by layered sections that are cut at varying lengths to create a slightly undone, textured appearance. When applied to medium length hair, this style provides balance between volume and manageability. This article explains ten practical shaggy haircut ideas designed for medium length hair, focusing on structure, layering techniques, and styling outcomes. Readers will learn how each haircut works, how layers are positioned, and how to maintain the style using simple methods. The goal is to provide clear, step by step understanding rather than abstract descriptions. These haircuts are useful because they reduce heaviness, enhance natural texture, and require minimal daily styling. They also align with modern design trends that favor relaxed and natural aesthetics. Each idea is beginner friendly and adaptable, making it suitable for different hair types and personal preferences. This guide supports both inspiration and practical execution for anyone exploring shaggy hairstyles.
Why This Idea Is Trending or Useful
Medium shaggy haircuts are trending in Pinterest inspiration due to their adaptable and low-maintenance structure. This haircut style is designed to work with natural hair movement rather than against it, making it practical for daily wear. Layers reduce bulk and distribute weight evenly, which improves volume and texture. This makes shag haircuts suitable for both thick and fine hair. The design relevance comes from current trends that favor relaxed, slightly undone looks instead of highly structured styles. From a practical standpoint, shag haircuts require less time for styling and fewer tools, making them accessible for beginners. The DIY appeal exists in simple maintenance techniques such as trimming and basic styling adjustments. This haircut also supports a wide range of variations, allowing individuals to customize the level of texture and layering. The combination of flexibility, ease of maintenance, and alignment with modern aesthetic trends contributes to its popularity in creative ideas and trending styles.
Materials and Preparation
Preparing for a medium shaggy haircut involves organizing tools and understanding the layering structure. Essential materials include sharp hair cutting scissors, a comb, sectioning clips, a spray bottle, and a mirror setup for clear visibility. For styling, a hair dryer and round or flat brush may be used. Preparation begins with washing the hair to remove any buildup, followed by lightly drying it until it remains slightly damp. Damp hair allows for more controlled cutting and easier sectioning. Divide the hair into multiple sections using clips to maintain organization during the process. Planning the layer placement is essential, as shag cuts rely on varied lengths to create texture. Consider factors such as hair thickness, natural wave pattern, and desired volume when planning. Working in a well-lit area improves accuracy and reduces mistakes. Keeping tools within reach ensures a smooth workflow. Proper preparation supports consistent layering and helps achieve the desired shaggy effect with precision.
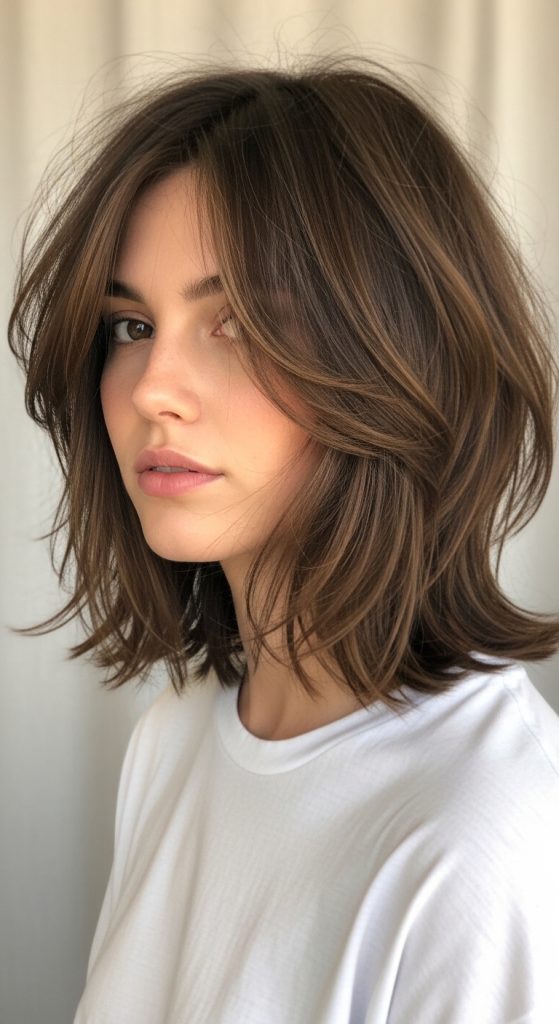
Idea 1: Classic Medium Shag Cut
How to Create
The classic medium shag cut is defined by evenly distributed layers that create a balanced and textured appearance. This style uses multiple layer lengths to remove excess weight while maintaining the overall medium length. The layers are blended to create a natural flow, avoiding sharp transitions. This haircut is widely used in Pinterest ideas because it offers a combination of structure and movement. It works well with different hair types, as the layering technique can be adjusted based on thickness and texture. The design supports a relaxed and modern aesthetic, making it suitable for everyday styling. This approach is beginner friendly because it follows a clear structure without requiring complex techniques. The result is a versatile haircut that enhances natural volume and movement. It also reduces the need for extensive styling, making it a practical choice for daily routines.

To create this haircut, begin by sectioning the hair into manageable parts. Establish the base length at medium level, typically around the shoulders. Start cutting layers from the top, gradually working downward. Each layer should be slightly shorter than the one below it to create a cascading effect. Use a point-cutting technique to soften the ends and avoid blunt edges. Blend the layers carefully to maintain a smooth transition. Check the balance on both sides to ensure symmetry. Work slowly and adjust as needed to maintain control. Once all layers are complete, refine the ends for a consistent finish. This step by step method results in a classic shag haircut with balanced texture.
Idea 2: Textured Shag with Fringe
Step-by-Step Guide
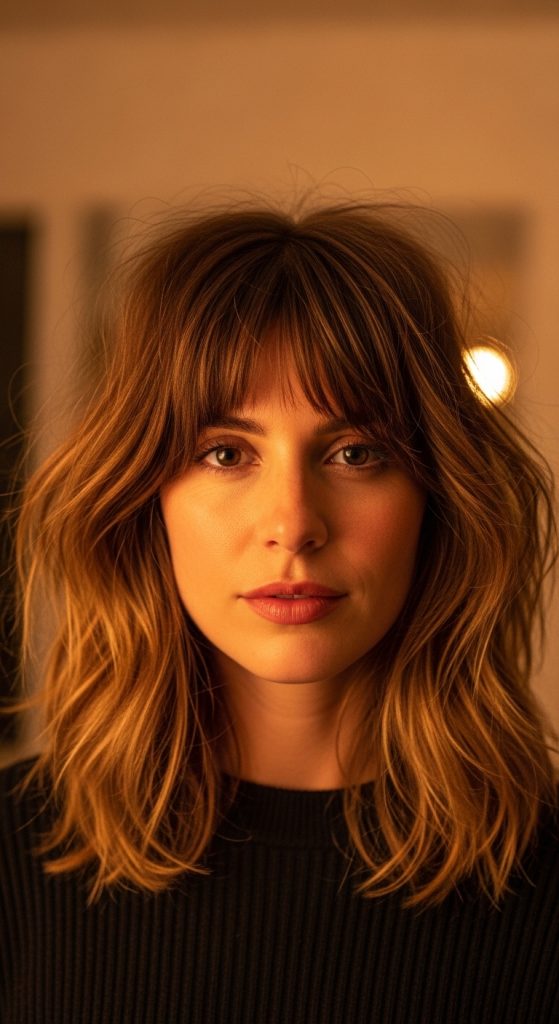
A textured shag with fringe adds an additional front element that enhances the overall shape of the haircut. The fringe, also known as bangs, is cut to frame the face while blending into the layered structure. This design increases the visual depth of the haircut and draws attention to facial features. The textured layers create movement throughout the hair, while the fringe provides a defined front section. This style aligns with modern design trends that emphasize soft and natural shapes. It is suitable for individuals seeking a slightly more structured variation of the shag haircut. The combination of layers and fringe creates a cohesive look that remains easy to maintain. This idea is beginner friendly because the fringe can be adjusted in length and thickness based on preference. The haircut supports both straight and wavy hair types, making it adaptable.
To achieve this style, begin by sectioning the front portion of the hair for the fringe. Cut the fringe at the desired length, ensuring it aligns with the face shape. Use a light, angled cutting technique to avoid harsh lines. Proceed to cut layers throughout the rest of the hair, following the shag structure. Blend the fringe into the side layers to create a seamless transition. Use point cutting to add texture and softness. Check for balance and adjust as needed. Once complete, lightly style the fringe to ensure it falls naturally. This method produces a textured shag haircut with a defined front element.
Idea 3: Soft Layered Shag

How to Make
Soft layered shag haircuts focus on creating gentle transitions between layers to achieve a subtle textured look. This style reduces the intensity of traditional shag cuts by using smoother blending techniques. It is suitable for individuals who prefer a more refined appearance while still maintaining movement. The layers are designed to enhance natural flow without creating sharp contrasts. This approach aligns with minimalist style trends and works well for both straight and slightly wavy hair. The haircut provides volume without appearing overly textured, making it a balanced option. It is beginner friendly because it relies on controlled layering rather than dramatic cuts. The result is a clean and soft shag style.
To create this haircut, section the hair and establish the base length. Cut layers gradually, ensuring that each section blends smoothly into the next. Use minimal point cutting to maintain softness. Focus on even distribution of layers rather than strong variation in length. Check the overall shape and refine as needed. This process results in a soft and natural shag haircut.
Idea 4: Choppy Medium Shag

How to Create
Choppy medium shag haircuts emphasize uneven layers to create a bold and textured appearance. This style uses varied lengths to produce a dynamic look. It is suitable for individuals seeking a more defined shag effect.
To achieve this style, cut layers at different lengths using a point-cutting technique. Avoid over-blending to maintain the choppy effect. Ensure balance across the haircut. This method produces a textured and bold shag.
Idea 5: Feathered Shag Layers
Execution Process

Feathered shag layers create a light and airy appearance by softening the ends of the hair. This style reduces heaviness and enhances movement.
To create this look, angle the scissors outward while trimming the ends. Work in small sections and blend carefully. This results in a soft and flowing shag haircut.
Idea 6: Shaggy Lob Style
How to Create
A shaggy lob combines the structure of a long bob with shag layering. This style is clean yet textured.
To achieve this cut, establish the lob length first, then add layers throughout. Blend carefully to maintain shape. This results in a balanced haircut.
Idea 7: Curly Medium Shag
Step-by-Step Guide

Curly medium shag haircuts enhance natural curls by adding layers that reduce bulk and define shape. This style works with natural texture.
To create this look, cut layers while considering curl pattern. Avoid cutting too much length. Blend carefully. This produces a structured curly shag.
Idea 8: Razor Cut Shag
How to Make

Razor cut shag haircuts use a razor tool to create soft and textured edges. This technique adds movement.
To achieve this style, use a razor to trim the ends and create layers. Maintain control to avoid uneven cuts. This results in a textured finish.
Idea 9: Shag with Curtain Bangs
Execution Process
This style combines shag layers with curtain bangs to create a balanced and modern look. The bangs frame the face.

To create this haircut, cut curtain bangs and blend them into the layers. Ensure smooth transitions. This produces a cohesive shag style.
Idea 10: Minimalist Shag Cut
How to Create
A minimalist shag cut focuses on subtle layering to create a clean and simple appearance. This style reduces heavy texture.

To achieve this look, add light layers throughout the hair. Blend carefully to maintain simplicity. This results in a refined shag haircut.
Common Beginner Mistakes and How to Avoid Them
One common mistake is over-layering, which can remove too much volume and create imbalance. Working gradually helps maintain control. Incorrect sectioning often leads to uneven results, so dividing the hair properly is essential. Using dull tools reduces precision and can damage the hair. Skipping blending creates visible lines, so smoothing transitions between layers is necessary. Avoiding these mistakes improves the final outcome.
Practical Tips for Better Results
Using sharp tools improves accuracy. Working in a well-lit space enhances visibility. Checking symmetry frequently ensures balance. Practicing techniques builds confidence. Maintaining steady hand movement improves control.
Styling, Presentation, or Organization Ideas
Shag haircuts can be styled using simple methods such as air drying or light brushing. Organizing tools improves efficiency. Coordinating the haircut with personal style enhances the overall appearance.
Budget or Time Planning
Cutting hair at home reduces costs. Planning each step saves time. Preparing tools in advance ensures smooth execution. Maintaining the haircut regularly prevents major adjustments.
Creative Expansion and Advanced Inspiration
Combining shag cuts with color techniques adds depth. Experimenting with styling methods enhances versatility. Exploring variations in layering supports continuous improvement.