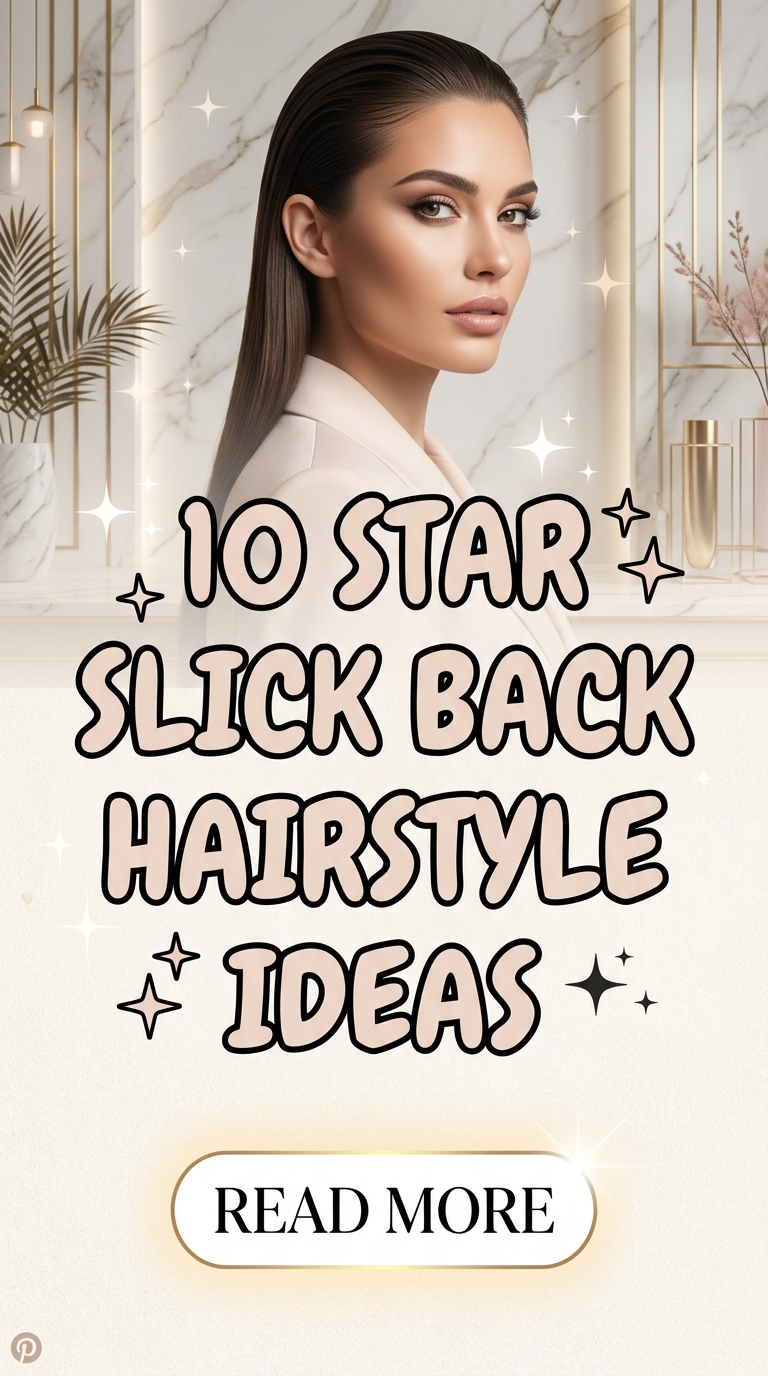
10 Star Slick Back Hairstyle Ideas

Slick back hairstyles have become a defining element of modern Pinterest ideas due to their clean structure and polished finish. This hairstyle involves combing the hair backward away from the face, creating a smooth and controlled appearance. It is widely used in both casual and formal settings because it emphasizes facial features while maintaining a neat and organized look. The “star” variation refers to elevated versions of the classic slick back, incorporating volume, texture, and precise styling techniques.
This article presents ten star slick back hairstyle ideas designed as practical DIY tutorials. Each idea explains how to achieve a refined result using clear step by step methods and basic materials. Readers will learn how to prepare the hair, control direction, and maintain consistency in styling. These hairstyles are useful for individuals seeking a reliable and professional look that can be adapted for different occasions. By focusing on clarity and structure, this guide provides inspiration for creating sleek, balanced, and long-lasting hairstyles with minimal complexity.
Why This Idea Is Trending or Useful
Star slick back hairstyles are trending because they align with modern design preferences that prioritize simplicity and precision. Many Pinterest ideas highlight hairstyles that create a strong visual impact while remaining easy to maintain. The slick back style meets this demand by offering a structured and clean finish that suits various environments.
These hairstyles provide practical value by keeping hair away from the face, improving comfort and visibility. They are especially useful for long days or active schedules because they maintain their shape with minimal adjustments. The controlled structure reduces the need for constant styling throughout the day.
The DIY appeal contributes to their popularity. Slick back hairstyles require only basic tools such as combs and styling products, making them accessible for beginners. The ability to adjust the level of sleekness, volume, or texture allows for customization. This flexibility ensures that the hairstyle remains relevant across different preferences and occasions.
Materials and Preparation
Preparing for a slick back hairstyle requires a few essential materials and careful setup. Common tools include a fine-tooth comb, brush, hair ties if needed, and styling products that provide hold and smoothness. These materials help control hair direction and maintain a consistent finish.
Start by ensuring the hair is clean and slightly damp or dry, depending on the desired effect. Detangle the hair thoroughly to prevent uneven sections. Apply a small amount of styling product evenly throughout the hair to improve control and hold.
Planning the hairstyle involves deciding on the level of volume and finish. Some styles require a completely flat appearance, while others include slight lift at the crown. Use a comb to guide the hair backward in a smooth motion. Proper preparation ensures that the hairstyle remains structured, balanced, and long-lasting.
Idea 1: Classic Star Slick Back

How to Create
The classic star slick back is a refined version of the traditional slick back hairstyle. It focuses on achieving a smooth and evenly distributed appearance while maintaining a natural shine. This style is suitable for professional environments and formal occasions due to its clean and controlled structure.
To create this hairstyle, begin by applying a small amount of styling product to damp or dry hair. Use a fine-tooth comb to guide the hair backward from the forehead to the crown. Ensure the hair lies flat without visible gaps. Smooth the sides evenly and maintain consistent direction. Adjust the finish by lightly pressing the hair to remove any uneven areas. This step by step method results in a polished and balanced hairstyle.
Idea 2: Slick Back with Volume Lift

Step-by-Step Guide
This variation introduces volume at the crown while maintaining a sleek finish. It creates a more dynamic appearance while preserving the structured look of a slick back hairstyle.
Start by applying product to the roots and lightly teasing the crown area to create lift. Comb the hair backward while maintaining the elevated section. Smooth the sides to balance the overall shape. Ensure the volume is evenly distributed and does not disrupt the sleek finish. This method creates a structured yet dimensional hairstyle.
Idea 3: Low Slick Back Ponytail
How to Make
The low slick back ponytail combines the sleek back technique with a secured ponytail at the nape. This style provides both structure and practicality, making it suitable for daily use.

Comb the hair backward and gather it at the nape of the neck. Secure it with a hair tie. Smooth the top and sides using a comb to ensure consistency. Adjust the ponytail to maintain balance. This approach creates a neat and functional hairstyle.
Idea 4: Wet Look Slick Back
Execution Process

The wet look slick back emphasizes shine and a glossy finish. This style creates a modern and polished appearance often used for formal or evening settings.
Apply a generous amount of styling product to damp hair. Comb the hair backward evenly, ensuring full coverage. Smooth the surface to achieve a consistent shine. Avoid excessive buildup in one area. This method produces a sleek and reflective hairstyle.
Idea 5: Textured Slick Back
How to Create
The textured slick back introduces subtle variation in the hair surface while maintaining overall direction. This style balances structure with a slightly relaxed finish.

Apply a small amount of product and use fingers to create light texture. Comb the hair backward gently without flattening it completely. Maintain a controlled yet natural appearance. This method creates a modern and adaptable hairstyle.
Idea 6: Side-Part Slick Back
Setup Method

The side-part slick back adds a defined parting line to the hairstyle, creating a more structured and formal appearance. It combines symmetry with directional styling.
Use a comb to create a clear side part. Guide each section backward while maintaining the parting line. Smooth both sides evenly and ensure consistent alignment. This method results in a clean and organized hairstyle.
Idea 7: High Slick Back Bun
How to Make
The high slick back bun combines sleek styling with an elevated bun. This style provides both structure and practicality while maintaining a polished appearance.

Comb the hair backward and gather it at the crown. Secure it into a bun using a hair tie and pins. Smooth the top and sides to maintain consistency. Adjust the bun shape for balance. This method creates a structured and efficient hairstyle.
Idea 8: Loose Slick Back Style
Step-by-Step Guide
The loose slick back style offers a softer version of the traditional look. It maintains direction while allowing slight movement and flexibility.

Apply a light amount of product and comb the hair backward gently. Avoid flattening the hair completely. Allow some natural movement while maintaining overall structure. This method creates a relaxed yet organized hairstyle.
Idea 9: Slick Back with Braided Detail
How to Create

This style combines slick back techniques with a small braid for added detail. It introduces variation while maintaining the core structure.
Create a small braid along one section of the hairline. Comb the remaining hair backward and integrate the braid into the overall style. Secure the braid if necessary. This method produces a detailed and structured hairstyle.
Idea 10: Double Section Slick Back

Execution Process
The double section slick back divides the hair into two layers, creating depth and structure. This style focuses on controlled sectioning and alignment.
Divide the hair into upper and lower sections. Slick back each section individually, ensuring consistent direction. Combine both sections and smooth the surface. Adjust alignment for balance. This method creates a layered and refined hairstyle.
Common Beginner Mistakes and How to Avoid Them
One common mistake is using too much product, which can create a heavy and uneven appearance. Apply product gradually and evenly. Another issue is improper combing direction, which can result in uneven sections. Always guide the hair consistently from front to back.
Skipping detangling can lead to visible bumps and uneven texture. Ensure the hair is smooth before styling. Overworking the hair can also reduce its natural appearance. Maintain a balance between control and flexibility.
Avoiding these mistakes ensures a clean and professional result.
Practical Tips for Better Results
Use a fine-tooth comb for precise alignment and smoothness. Apply product evenly to avoid buildup. Work in sections if needed to maintain control.
Adjust the level of sleekness based on the desired style. Maintain consistency in direction throughout the process. Regular practice improves efficiency and accuracy.
These tips help achieve a balanced and long-lasting hairstyle.
Styling, Presentation, or Organization Ideas
Coordinate slick back hairstyles with outfits to maintain a cohesive appearance. Use minimal accessories to preserve the clean design. Maintain balance between volume and smoothness.
Organize tools and materials before starting to improve workflow. Keep the styling area clean and well-lit.
Proper presentation enhances the overall effect of the hairstyle.
Budget or Time Planning
Slick back hairstyles require minimal materials, making them suitable for budget ideas. Basic tools such as combs and styling products are sufficient.
Plan the styling process based on available time. Most slick back styles can be completed quickly with proper preparation.
Efficient planning ensures consistent results without unnecessary effort.
Creative Expansion and Advanced Inspiration
Expand slick back hairstyles by combining them with other techniques such as braiding or twisting. Experiment with different parting styles and volume levels.
Introduce subtle variations to adapt the hairstyle for different occasions. Explore layered or textured designs for added depth.
Continuous experimentation allows for creative development while maintaining structure and clarity.