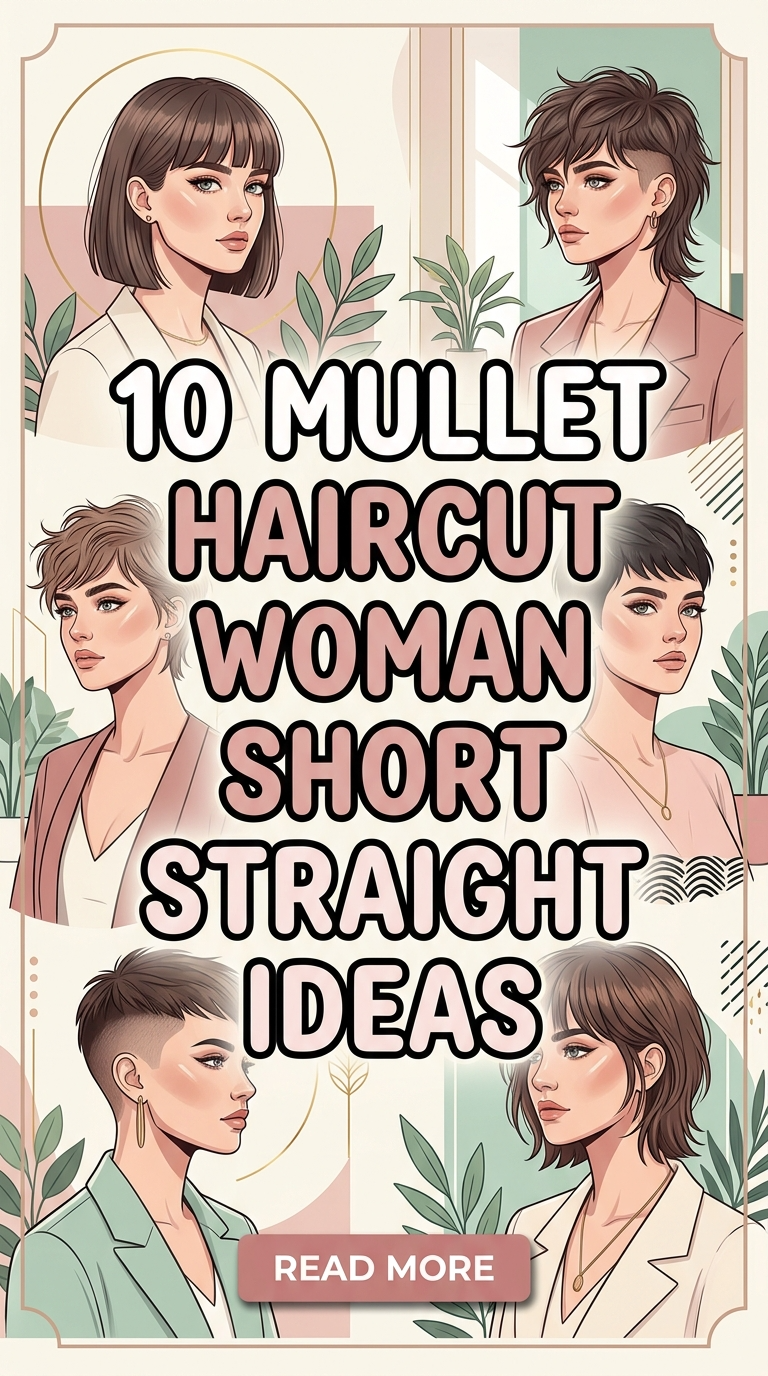

10 Undercut Pixie Edgy Over 50

Undercut pixie hairstyles for women over 50 combine structure, ease, and modern design into a practical and stylish haircut option. This approach uses short hair lengths with strategically shaved or closely trimmed sections to create contrast and dimension. It supports a clean, manageable routine while allowing room for creative ideas and personal expression. Pinterest ideas frequently highlight this style because it balances simplicity with a bold, updated appearance. This article provides a complete tutorial that explains how to plan, shape, and maintain undercut pixie hairstyles step by step. Readers will learn how to select suitable variations based on face shape, hair texture, and lifestyle needs. The focus remains on beginner friendly methods that simplify the process and ensure consistent results. These hairstyles are useful because they reduce daily styling time while maintaining a polished look. The combination of practicality, aesthetic appeal, and easy project execution makes undercut pixie styles a strong option for modern hair design.
Why This Idea Is Trending or Useful
Undercut pixie styles are trending across Pinterest inspiration boards because they reflect modern design preferences focused on simplicity, structure, and individuality. These hairstyles provide practical value by reducing hair volume, making them easier to manage and maintain. This is especially useful for individuals seeking efficient routines without sacrificing style. The undercut element adds visual contrast, which enhances the overall shape of the haircut and creates a refined appearance. The DIY appeal exists in the maintenance process, as trims can be managed at home with proper tools and planning. This supports budget ideas and long-term usability. These styles are also accessible for beginners because they can be adapted gradually, starting with subtle undercuts before moving to more defined designs. The ability to customize the haircut based on personal preferences and hair texture makes it versatile. This combination of function, adaptability, and aesthetic consistency explains why it remains a trending idea.
Materials and Preparation
Preparing for an undercut pixie hairstyle requires organizing essential tools and planning the haircut carefully. Basic materials include hair clippers with adjustable guards, sharp scissors, a comb, sectioning clips, and a mirror for clear visibility. A spray bottle with water can help manage hair during cutting, while a towel or cape keeps the area clean. Begin by washing and drying the hair to ensure it is free from product buildup. Planning involves deciding which sections will be trimmed shorter and how the undercut will blend with the top layers. Section the hair carefully using clips to separate the undercut area from the rest. This step is essential for achieving clean lines and maintaining control during the process. Consider face shape and hair texture when planning the final look. Proper preparation improves accuracy and ensures that the haircut remains balanced. Organized materials and clear planning create a smooth and controlled execution process.
Idea 1: Soft Undercut Pixie with Volume Top
How to Create

This style focuses on maintaining softness while introducing an undercut for structure. The top section remains slightly longer to create volume, while the sides and back are trimmed shorter. This balance supports a modern design that is both practical and visually structured. The volume on top adds height, which helps frame the face and maintain proportion. The undercut reduces bulk and simplifies styling, making it suitable for everyday routines. This design works well for different hair textures and provides flexibility in styling.
To create this look step by step, section the top portion of the hair and secure it with clips. Use clippers to trim the sides and back to a shorter length, maintaining even strokes. Release the top section and use scissors to shape and layer the hair, creating volume and movement. Blend the transition area carefully to avoid harsh lines. Style the top with light brushing or minimal product for a natural finish. This easy project requires careful sectioning and controlled cutting techniques to achieve a balanced result.
Idea 2: Side-Swept Undercut Pixie
How to Create

This hairstyle features a longer top section styled to one side, combined with a subtle undercut. The side-swept effect creates movement and softens the overall look while maintaining structure.
To achieve this style, section the top and trim the sides using clippers. Shape the top with scissors, directing hair toward one side. Blend edges carefully and style with a light sweep for a clean finish.
Idea 3: Textured Undercut Pixie
How to Create
This design focuses on adding texture to the top while keeping the undercut clean and defined. Texture enhances movement and creates a more dynamic appearance.

Trim the sides and back using clippers. Use scissors or thinning techniques to add texture to the top. Style using light finger movement to maintain a natural look.
Idea 4: Tapered Undercut Pixie
How to Create

A tapered undercut creates a gradual transition from short to longer hair. This provides a softer and more blended appearance.
Use multiple clipper guard lengths to create a taper effect. Blend carefully and shape the top to maintain balance.
Idea 5: Curly Undercut Pixie
How to Create
This style maintains natural curls on top while reducing bulk with an undercut. It supports volume control and texture definition.

Trim the sides and leave curls intact on top. Maintain hydration and shape curls for a defined finish.
Idea 6: Asymmetrical Undercut Pixie
How to Create
This design features uneven lengths to create a modern and dynamic appearance. It adds visual interest while maintaining structure.

Trim one side shorter and leave the opposite side slightly longer. Blend carefully and style for balance.
Idea 7: Layered Undercut Pixie
How to Create

Layering adds depth and movement to the pixie style. Combined with an undercut, it creates a structured yet soft look.
Trim the base and add layers using scissors. Ensure smooth transitions between sections.
Idea 8: Minimal Undercut Pixie
How to Create
This subtle design uses a light undercut to reduce bulk without creating strong contrast. It maintains a natural appearance.

Trim the lower section slightly shorter while keeping the top intact. Blend carefully for a seamless finish.
Idea 9: Spiky Undercut Pixie
How to Create

This style uses texture and direction to create a slightly spiked effect. It adds energy and structure to the haircut.
Trim sides short and shape the top with textured layers. Style upward using light techniques.
Idea 10: Sleek Undercut Pixie
How to Create
This design focuses on smooth, clean lines with a polished finish. It creates a refined and structured appearance.

Trim sides evenly and smooth the top section. Maintain clean edges and minimal texture for a sleek look.
Common Beginner Mistakes and How to Avoid Them
A common mistake is cutting too much hair at once, which can disrupt the balance of the style. Working gradually helps maintain control. Uneven sectioning can lead to inconsistent results, so careful separation of hair is essential. Using incorrect clipper guard lengths may create harsh contrasts, so selecting appropriate settings is important. Rushing the process can lead to uneven lines, so steady and controlled movements are necessary. Regularly checking symmetry using a mirror helps ensure accuracy.
Practical Tips for Better Results
Use sharp tools for precise cutting. Work in small sections to maintain control and consistency. Keep hair slightly damp for easier handling during cutting. Practice blending techniques to create smooth transitions between sections. Maintain regular trims to keep the style defined.
Styling, Presentation, or Organization Ideas
Style the top section in different directions to create variety. Use simple techniques such as side sweeping or light texturing. Keep tools organized and accessible for easy maintenance. Present the hairstyle in clean lighting to highlight structure and detail.
Budget or Time Planning
Use basic tools to reduce costs. Plan the haircut carefully before starting to avoid corrections. Perform maintenance trims regularly to reduce time spent on major adjustments. This approach ensures efficient use of both time and resources.
Creative Expansion and Advanced Inspiration
Experiment with subtle variations such as adding texture or adjusting length. Explore different undercut placements for new looks. Combine layering techniques with undercuts to create more dynamic styles. These creative ideas allow further development while maintaining a structured and practical approach.