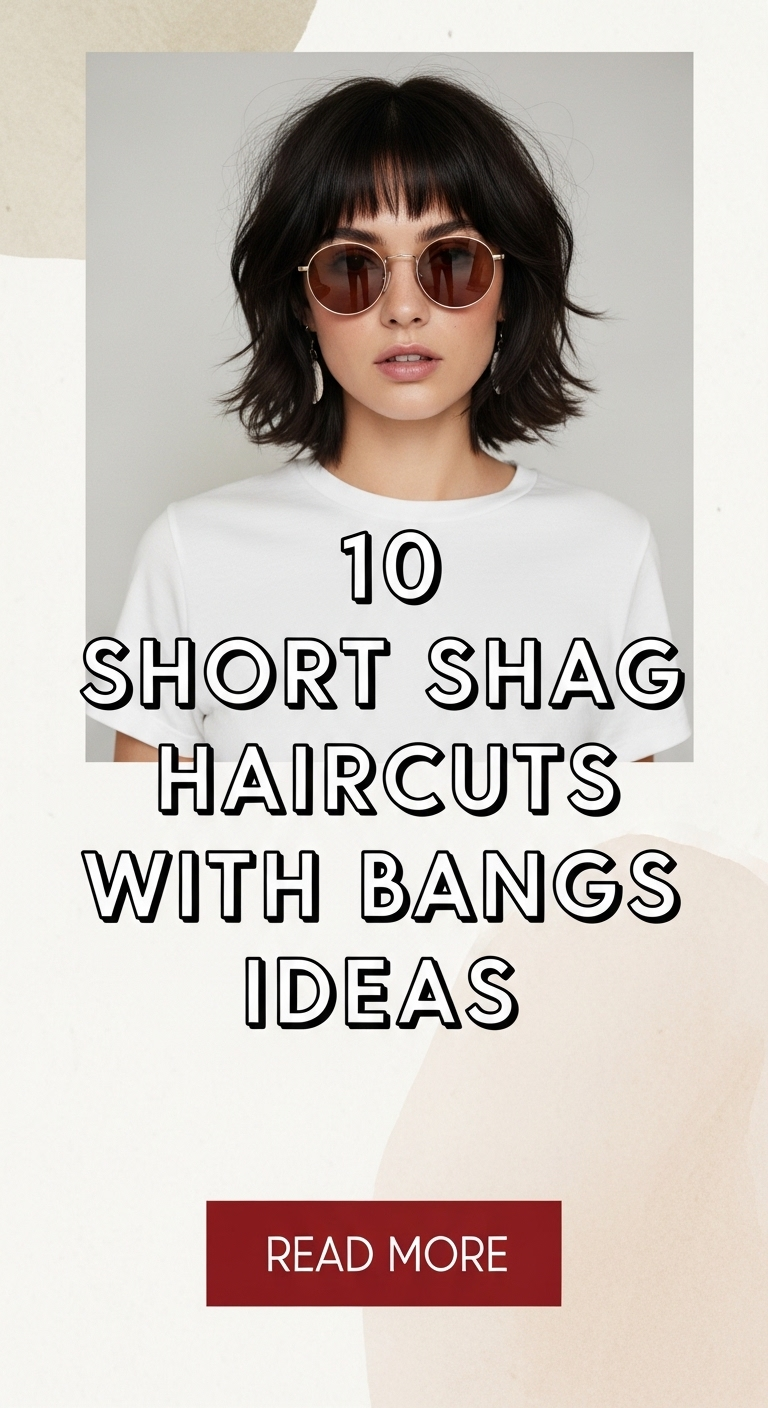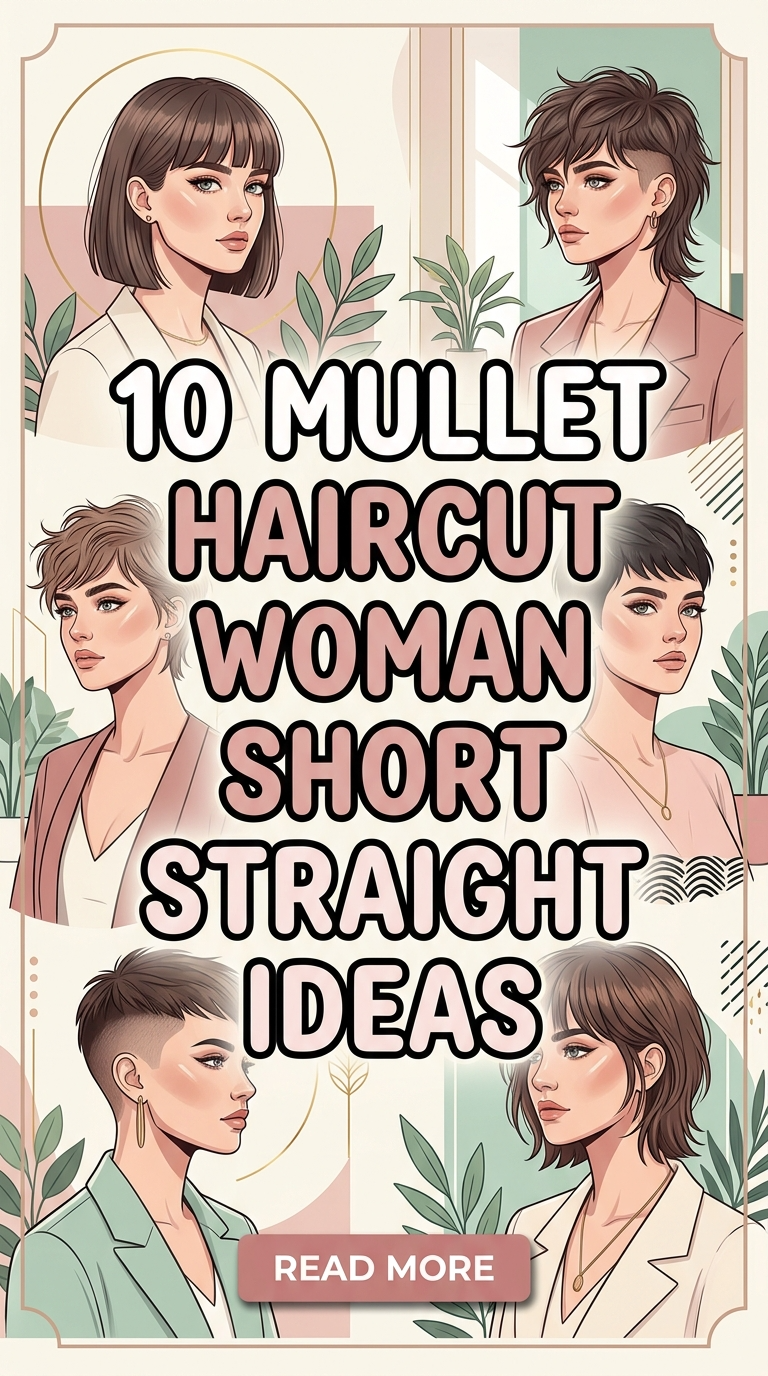
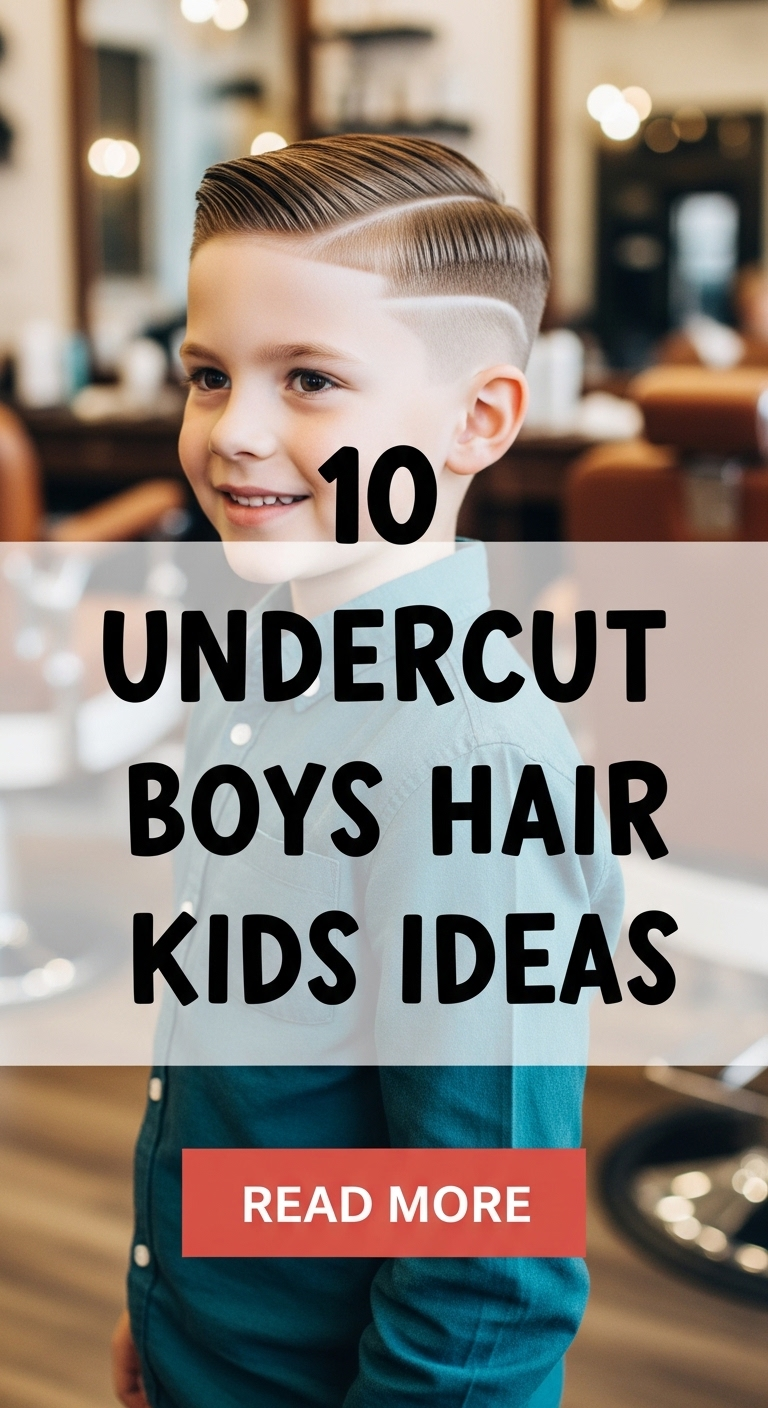
10 Undercut Boys Hair Kids Ideas

Undercut hairstyles for boys have become a strong focus in Pinterest ideas due to their clean structure, easy maintenance, and modern appearance. These haircuts combine shorter sides with longer top sections, creating a balanced and adaptable style that works well for children. This article explains how to create and manage undercut hairstyles for boys using clear methods, practical preparation, and step-by-step techniques.
Readers will learn how to choose suitable variations based on hair type, face shape, and daily routine needs. The goal is to provide realistic and beginner friendly approaches that parents or guardians can understand and apply easily. These styles are useful because they reduce styling time while maintaining a neat and organized look for school and everyday activities. The undercut design also allows flexibility, as the top section can be styled in different ways without altering the base structure. By following these ideas, readers can create a practical and aesthetic haircut that supports both comfort and appearance.
Why This Idea Is Trending or Useful
Undercut boys hairstyles are trending in Pinterest inspiration because they offer a practical balance between style and functionality. The haircut removes excess bulk from the sides and back, making it easier to manage, especially for active children. From a design perspective, the contrast between the short undercut and longer top layers creates a clean and modern look that aligns with current trends. The DIY appeal is strong, as basic maintenance such as trimming the sides can be done at home with simple tools. This makes it an easy project for parents who prefer efficient grooming routines. Additionally, the style is adaptable for different occasions, including school, casual outings, and formal events. Beginners find this haircut accessible because it requires minimal daily styling while still looking organized. The structured nature of the undercut also supports better hair organization, keeping strands controlled and reducing tangling. These factors contribute to its growing popularity as a practical and stylish solution.
Materials and Preparation
Preparing for an undercut haircut for boys requires careful planning and the right materials to achieve a clean and even result. Essential tools include hair clippers with adjustable guards, sharp scissors, a fine-tooth comb, and sectioning clips. A mirror setup is important for visibility, especially when working on the back of the head. Preparation begins with clean, dry hair to allow accurate sectioning and cutting. Divide the hair into two main sections: the top portion and the undercut area. Secure the top section using clips to keep it separate during trimming. Planning involves deciding the height and length of the undercut, as well as the desired style for the top. Consider the child’s hair texture and daily routine when choosing the design. Organizing tools and workspace ensures efficiency and reduces errors. Following a clear step-by-step preparation process helps achieve a balanced and professional-looking haircut that is both practical and beginner friendly.
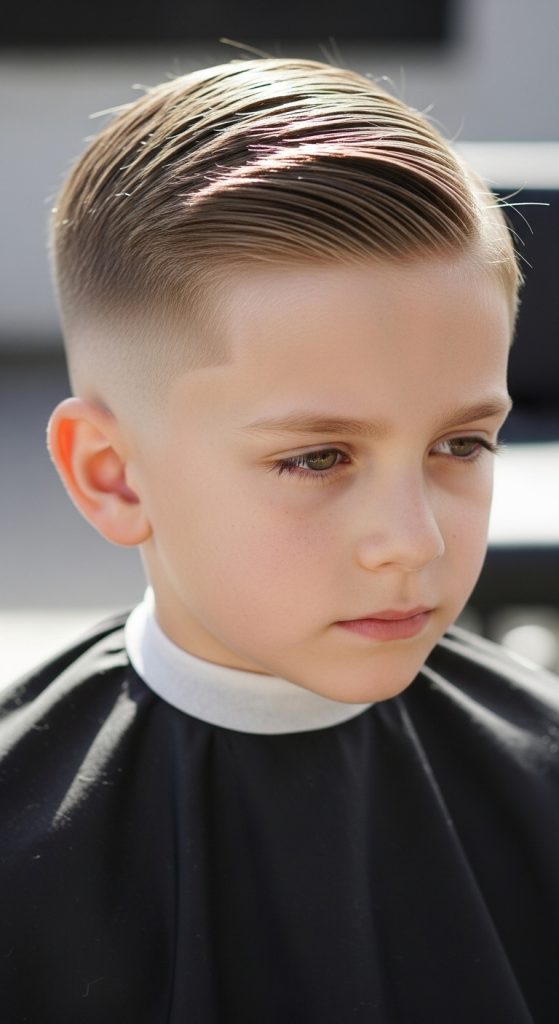
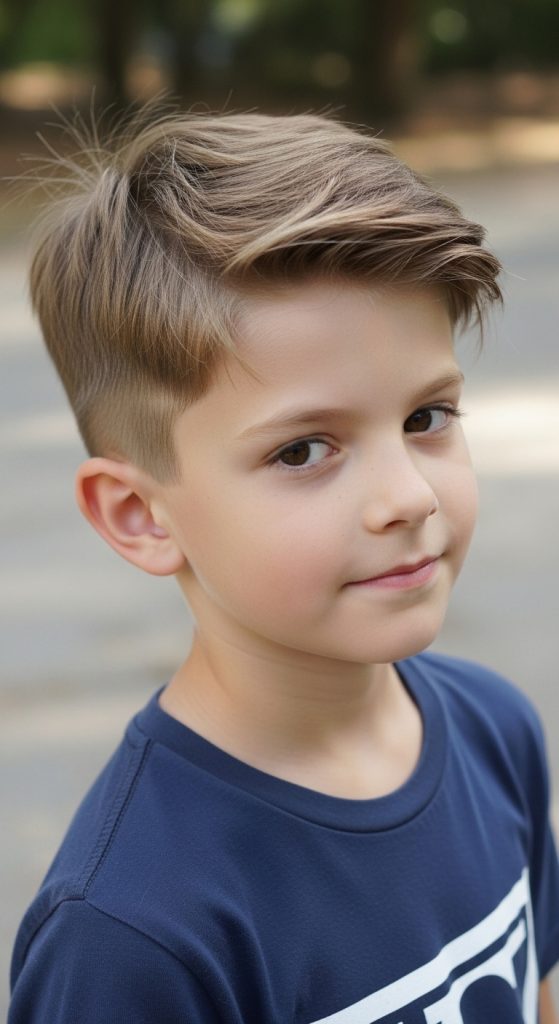
Idea 1: Classic Clean Undercut
How to Create
The classic clean undercut is a simple and structured hairstyle that focuses on neat sides and a slightly longer top. This design creates a clear contrast between the undercut section and the upper layers, resulting in a polished and organized appearance. The style is suitable for school and everyday activities because it maintains a tidy look without requiring complex styling. The concept emphasizes balance, ensuring that the top is not too long compared to the sides. This approach aligns with minimalist style principles and supports easy maintenance.
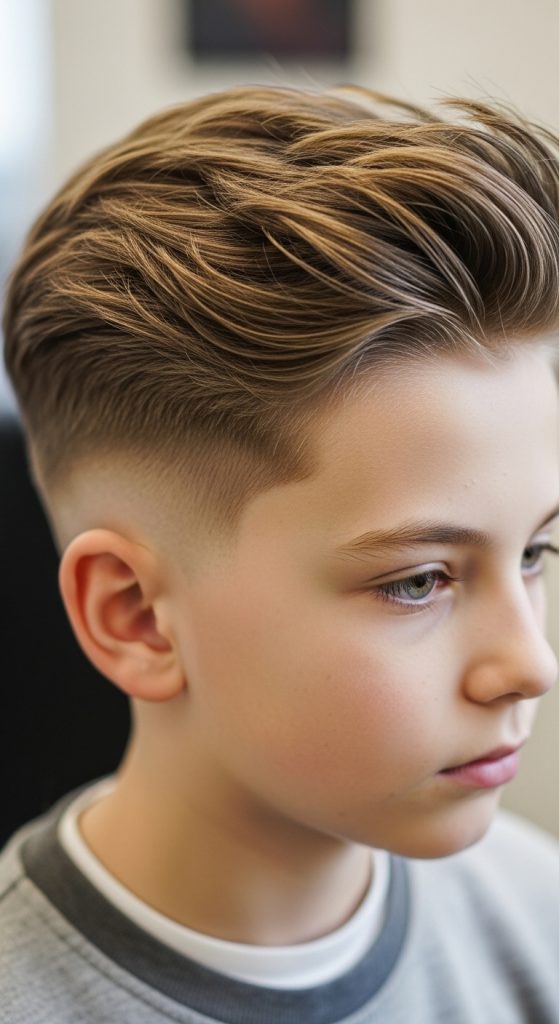
To create this haircut, begin by sectioning the top hair and securing it with clips. Use clippers to trim the sides and back evenly, selecting a guard length that provides a clean finish. Once the undercut is complete, release the top section and trim it to the desired length using scissors. Ensure smooth transitions between sections for a natural look. This step-by-step process results in a practical and beginner friendly hairstyle.
Idea 2: Textured Top Undercut
How to Create
A textured top undercut adds movement and dimension to the hairstyle by incorporating layers in the upper section. This design creates a slightly tousled look while maintaining the clean structure of the undercut. The texture allows flexibility in styling, making it suitable for both casual and formal settings.
To achieve this style, start by trimming the undercut area using clippers. Keep the length consistent for a neat base. Then, use scissors to create layers in the top section, cutting at different lengths to add texture. Comb through the hair to ensure even distribution. This method enhances volume while maintaining control, resulting in a dynamic yet manageable haircut.
Idea 3: Side-Parted Undercut
How to Create
The side-parted undercut introduces a defined parting line that adds structure and direction to the hairstyle. This design creates a clean and organized look, making it suitable for formal occasions and school settings. The side part also helps control the top section, keeping it neatly arranged.
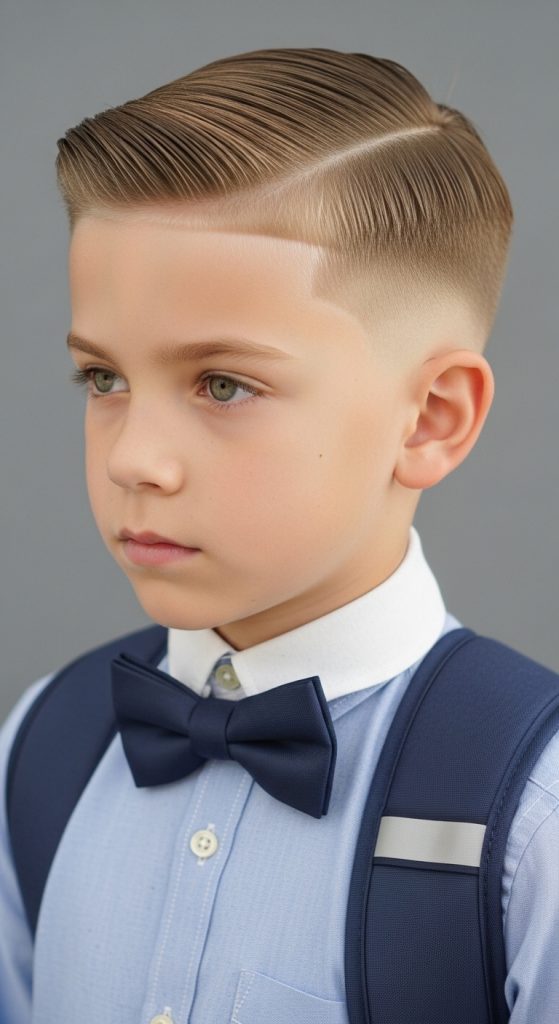
To create this style, establish the undercut by trimming the sides and back. Then, define a side part using a comb and trim the top accordingly to follow the natural direction. Ensure the part is clear and consistent. This step-by-step approach results in a structured and polished hairstyle.
Idea 4: Short Spiky Undercut
How to Create
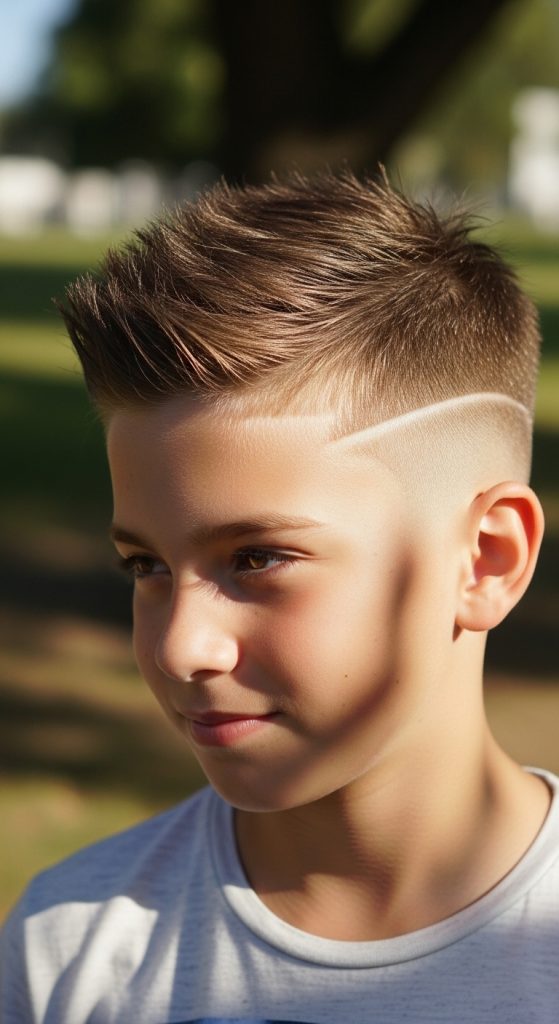
A short spiky undercut adds a playful and energetic element to the hairstyle. The top section is kept short and styled upward, creating a textured and dynamic appearance. This style is suitable for active children and casual environments.
To achieve this look, trim the undercut evenly and keep the top slightly longer. Use scissors to create short layers that can be styled into spikes. Ensure the top remains manageable and not overly long. This method produces a fun and practical haircut.
Idea 5: Smooth Comb-Over Undercut
How to Create
The comb-over undercut focuses on a smooth and controlled top section, creating a refined and organized appearance. This style is ideal for formal settings and special occasions.
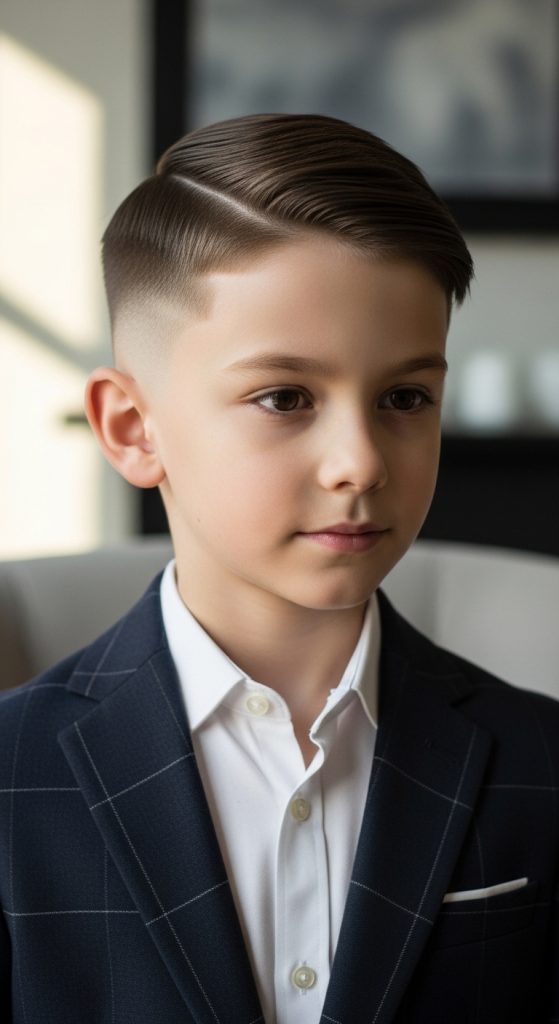
To create this haircut, trim the undercut and leave the top longer. Comb the top hair to one side and trim it to maintain shape. Ensure smooth transitions between sections. This step-by-step process results in a neat and polished hairstyle.
Idea 6: Curly Undercut Style
How to Create
A curly undercut adapts the design for naturally curly hair, reducing bulk while maintaining the natural texture. The undercut helps control volume, allowing curls to sit evenly.
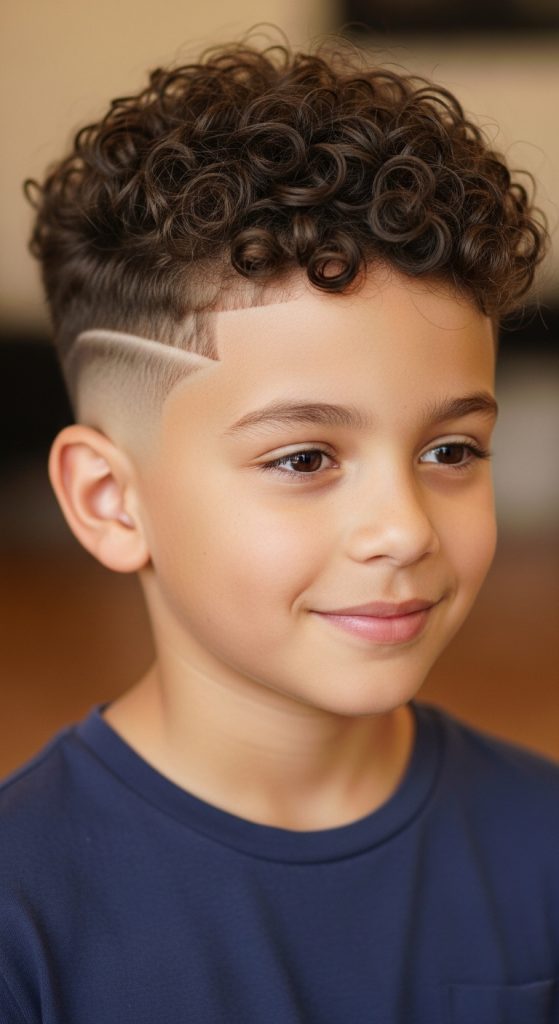
To create this style, trim the undercut area while preserving the curls on top. Shape the curls carefully to maintain balance. This approach ensures a controlled yet natural appearance.
Idea 7: Layered Undercut for Volume
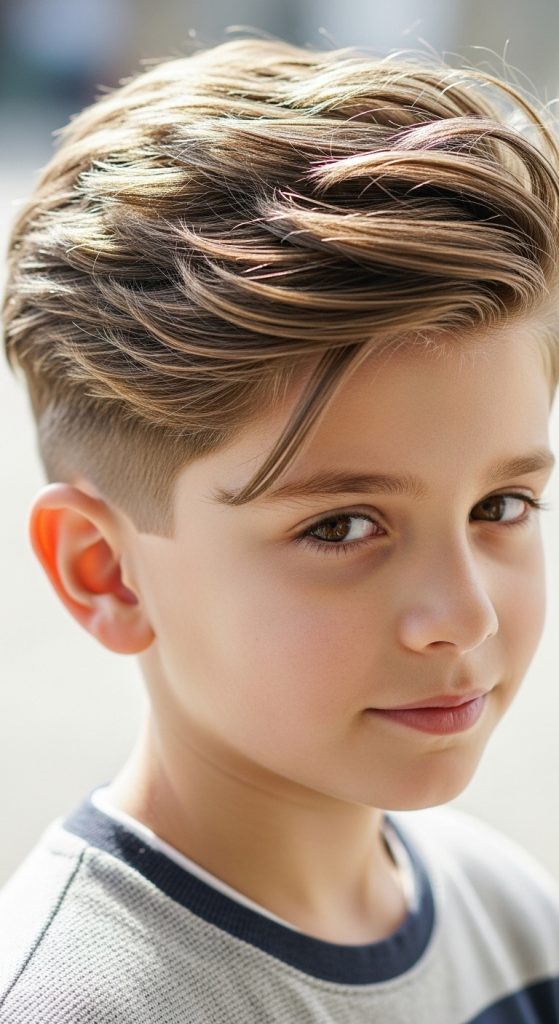
How to Create
A layered undercut focuses on adding volume to the top section while maintaining a clean base. This design creates a fuller appearance without increasing maintenance difficulty.
To achieve this style, trim the undercut and then layer the top evenly. Use scissors to create gradual transitions between layers. This method enhances volume and structure.
Idea 8: Undercut with Fringe
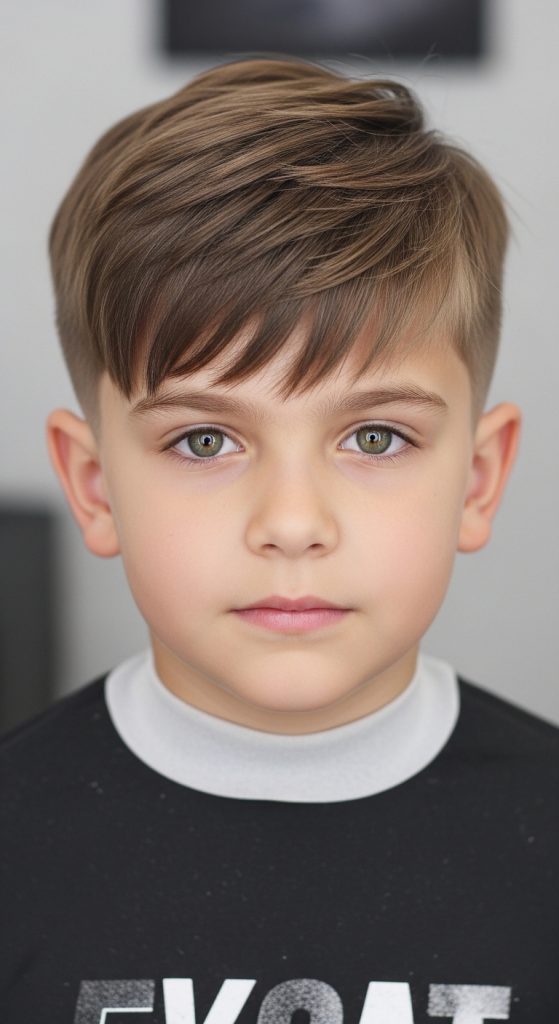
How to Create
Adding a fringe introduces a front-focused element that frames the face. This style combines structure with softness, creating a balanced look.
To create this haircut, trim the undercut and then cut a fringe that complements the face shape. Ensure the fringe blends smoothly with the rest of the hair. This step-by-step method results in a cohesive style.
Idea 9: Short Blunt Undercut
How to Create
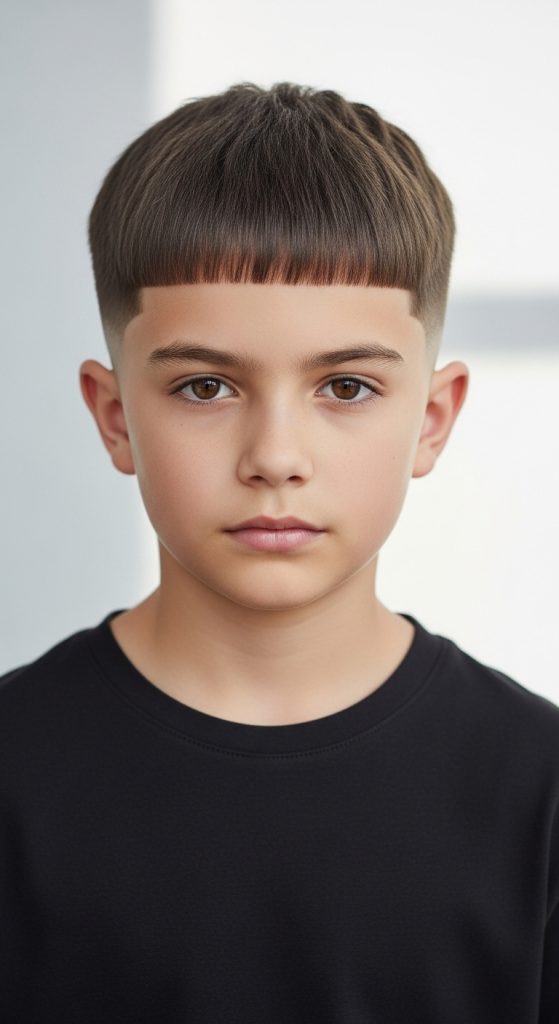
A short blunt undercut emphasizes clean edges and a defined shape. This style focuses on precision and simplicity, making it easy to maintain.
To achieve this look, trim the undercut and cut the top into a blunt, even length. Ensure symmetry and smooth edges. This approach creates a bold and structured hairstyle.
Idea 10: Soft Natural Undercut
How to Create
A soft natural undercut maintains a relaxed appearance while keeping the structure intact. This style focuses on subtle transitions and natural movement.
To create this haircut, trim the undercut lightly and keep the top slightly longer with minimal layering. Allow the hair to fall naturally. This method results in a comfortable and easy-to-maintain hairstyle.
Common Beginner Mistakes and How to Avoid Them
One common mistake is cutting the undercut too high, which disrupts the balance of the hairstyle. Another issue is uneven trimming, leading to inconsistent results. To avoid these problems, focus on careful sectioning and consistent cutting techniques. Work step by step and check symmetry regularly.
Practical Tips for Better Results
Use sharp tools to ensure clean cuts and avoid uneven edges. Work in small sections for better control. Regular maintenance helps preserve the shape and prevents overgrowth.
Styling, Presentation, or Organization Ideas
Organize tools before starting and ensure proper lighting for visibility. Style the hair according to the chosen design, focusing on balance and proportion.
Budget or Time Planning
Undercut hairstyles reduce daily styling time, making them efficient for busy routines. Planning the haircut in advance minimizes errors and saves time.
Creative Expansion and Advanced Inspiration
Advanced ideas include adding subtle patterns to the undercut or experimenting with different top lengths. These variations allow personalization while maintaining the core structure of the haircut.